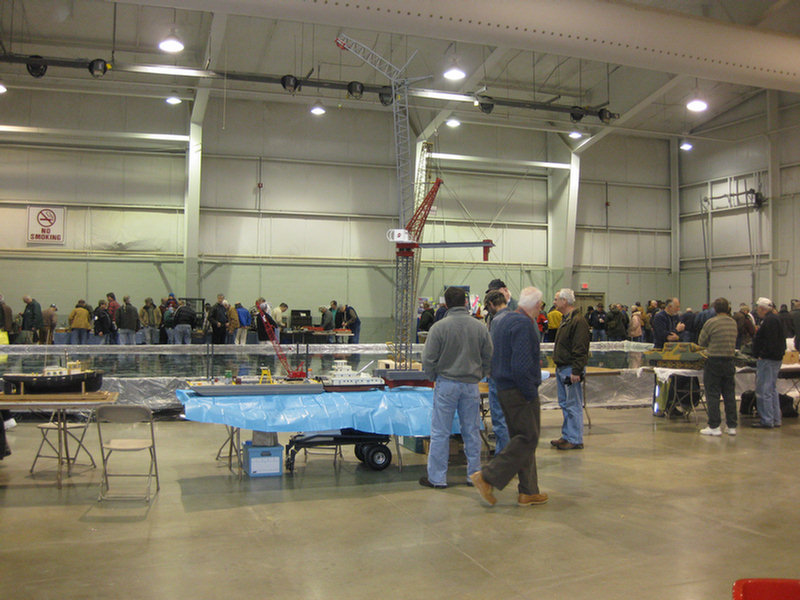
This is my tower crane model. It started out as a diversion in 1998. I will include some of the original (albeit poor) photos and then update this as I find time to work on the crane. I started back up on it in order to display it at an annual model engineering show that takes place in nearby York, PA. I have about three weeks to get some needed items done in order to have a "work in progress" display.
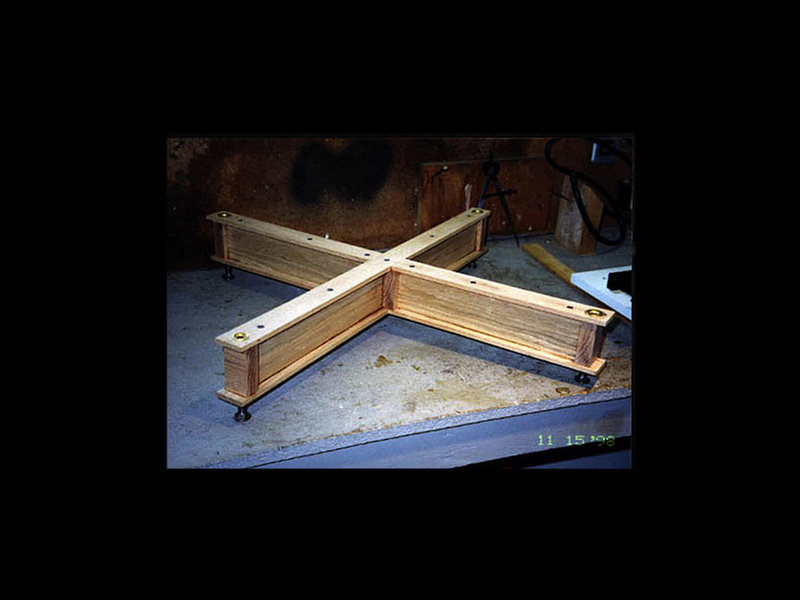
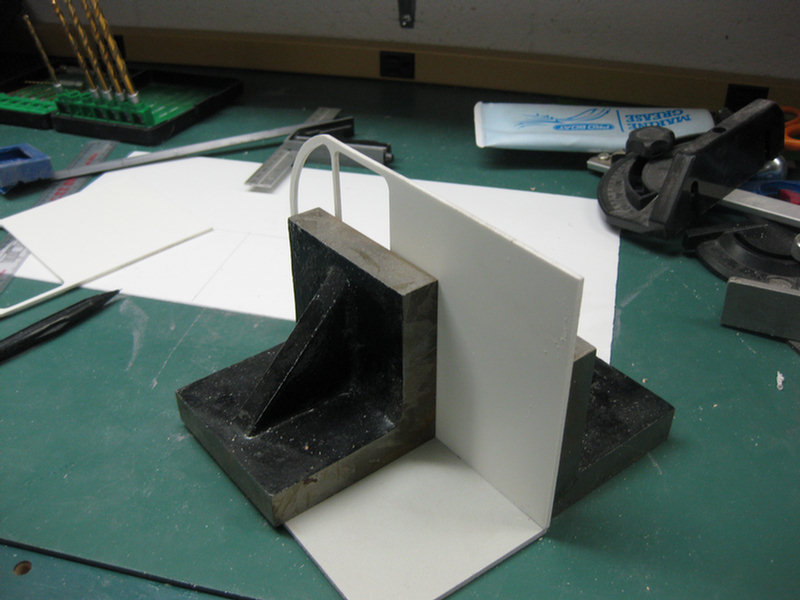
The base cross for the crane.
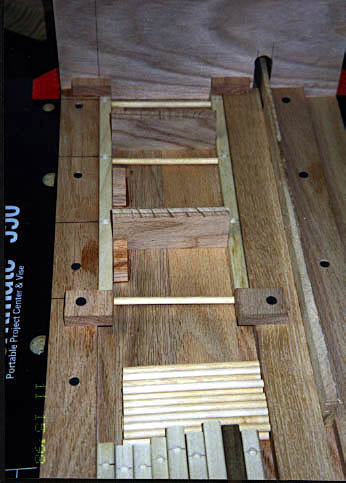
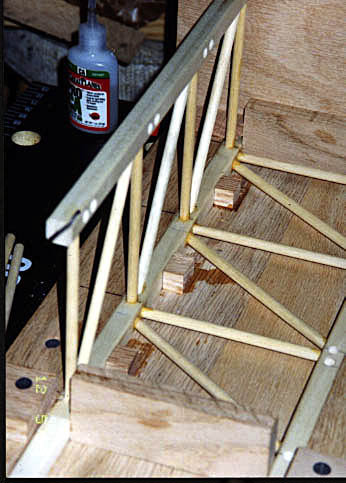
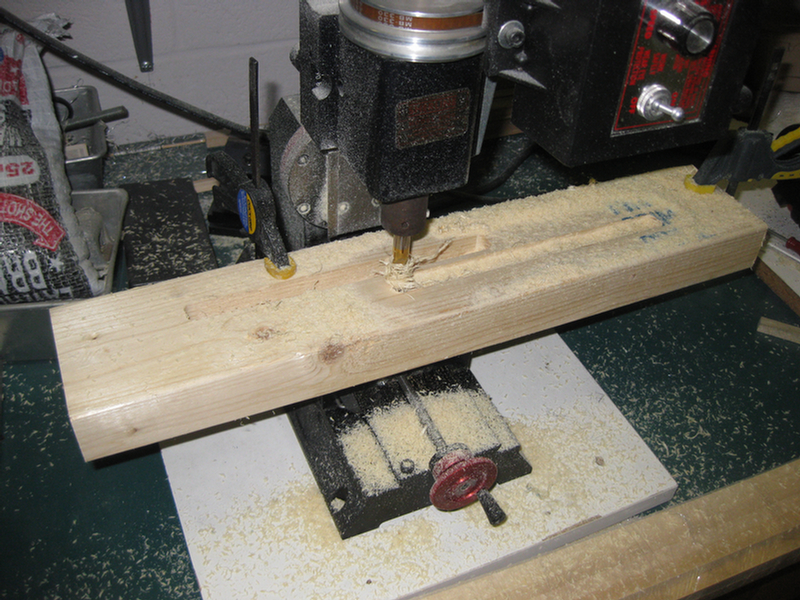
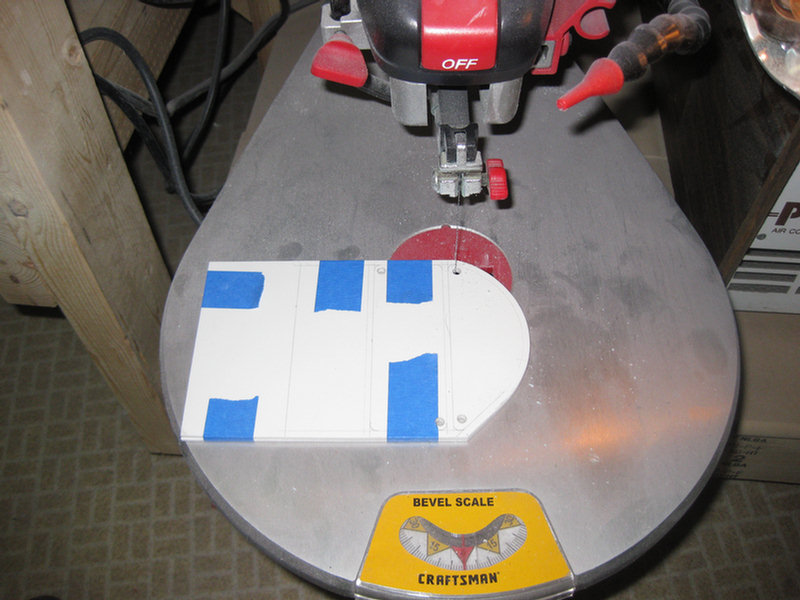
Jig for building mast sections. I built a lot of four. I will need to build four more to finish.
.JPG)
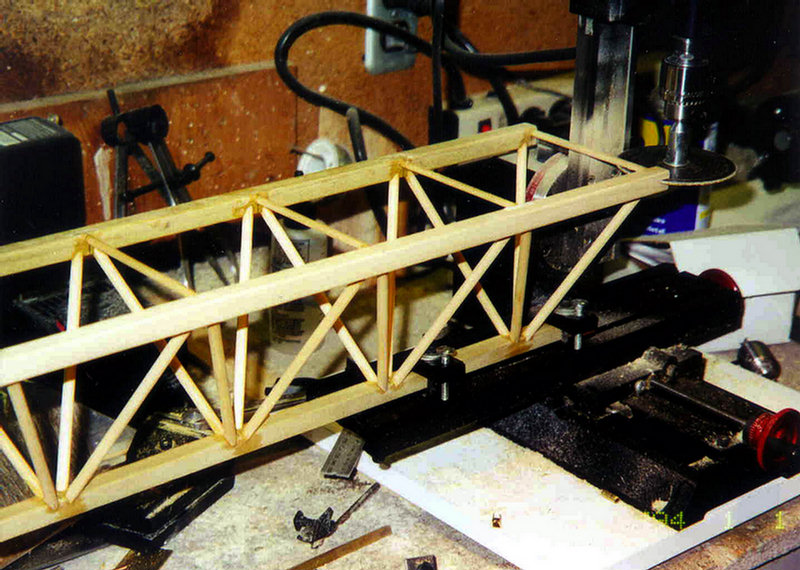
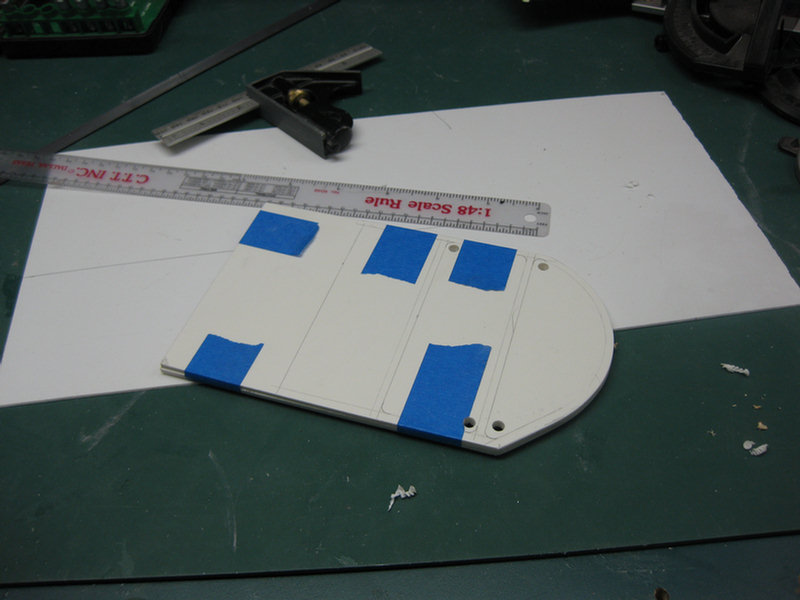
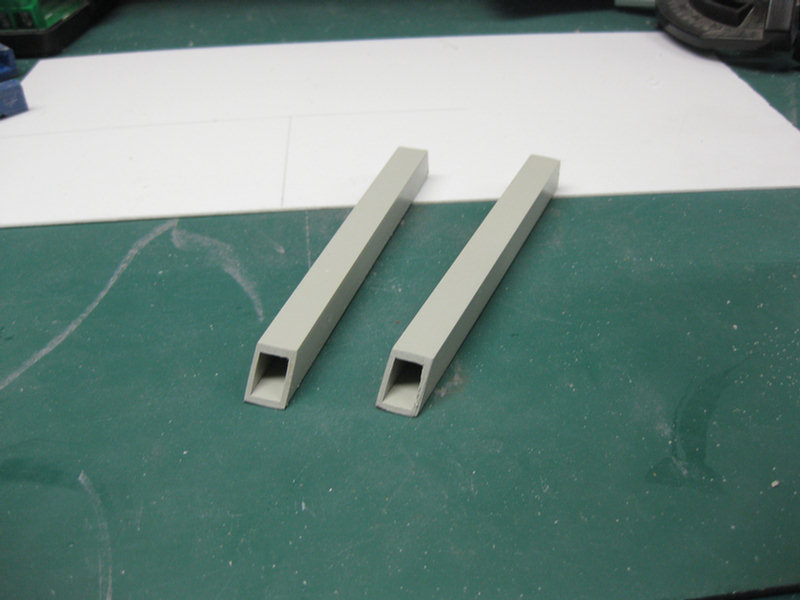
Each mast section is 12" tall by 5" square. They are 1:20th scale.
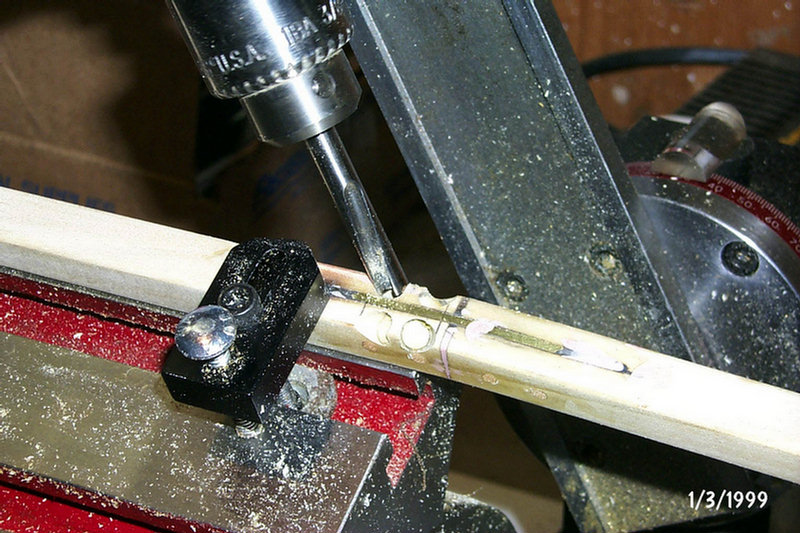
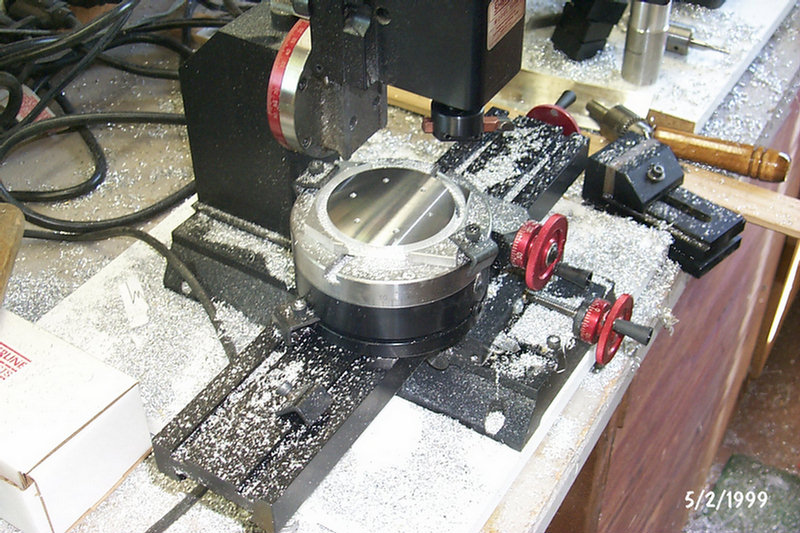
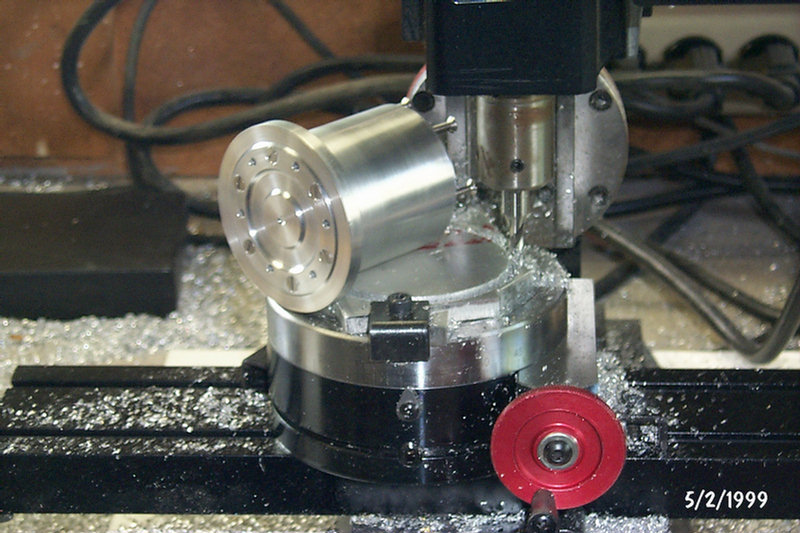
The jib required compound angled holes bored partially into the wood to give the lattice a good grip. This is why I just had to buy the milling machine and lathe. :)

Close up of bored holes in jib apex (top member).
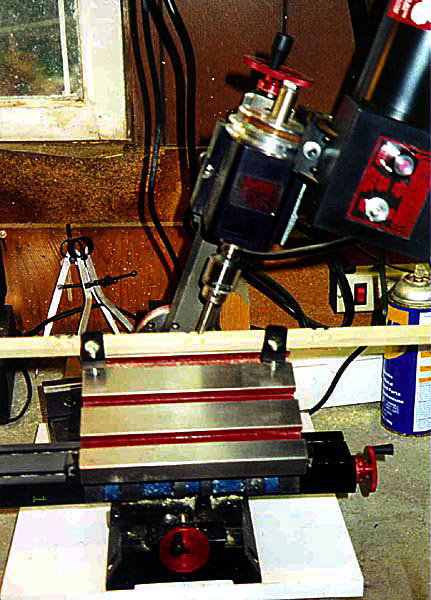
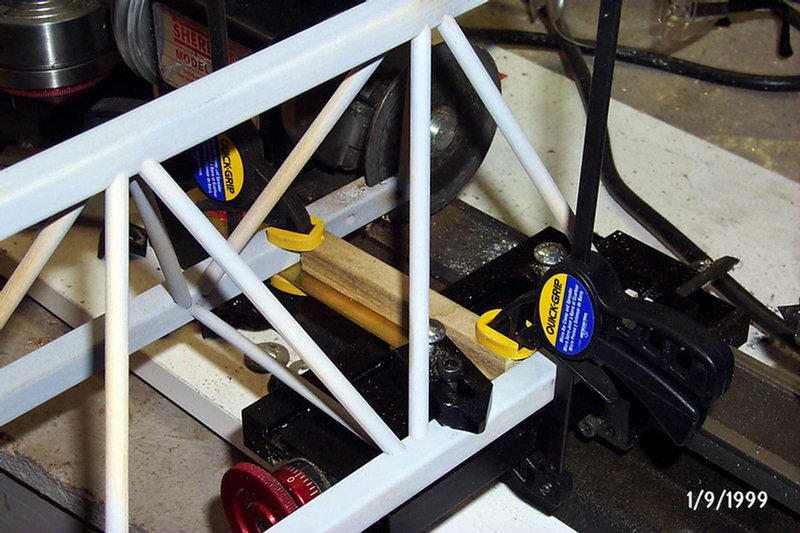
Here is one of the jib sections clamped to the milling table. It is being slotted for the connection fittings.
Here is one of the jib sections being cut to install a brass plate to form a hinge.
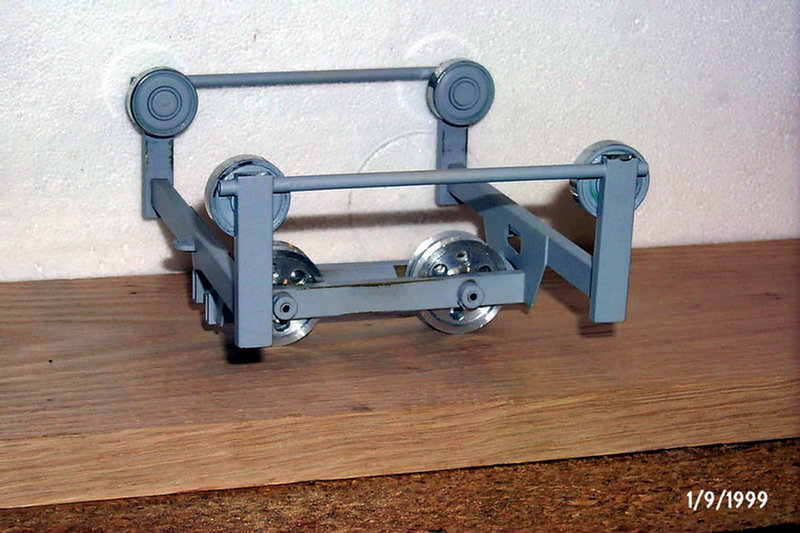
Here is the trolley made from brass.
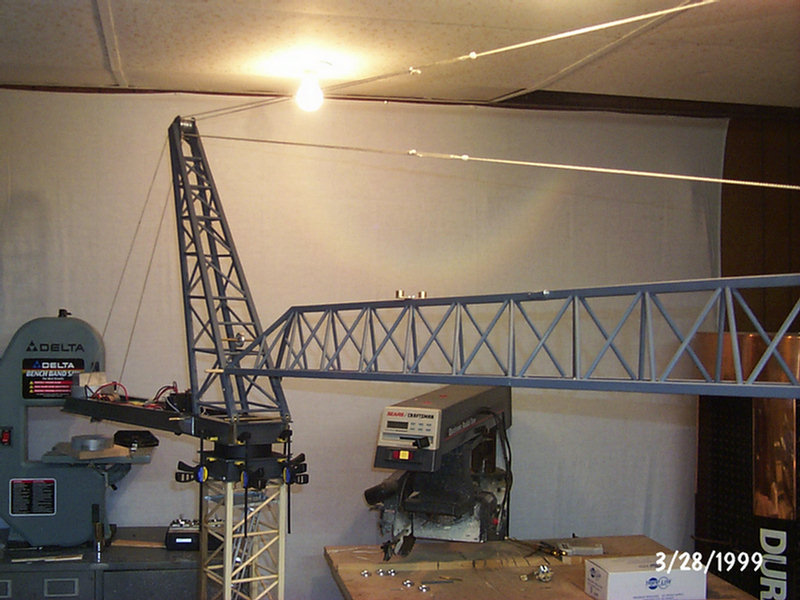
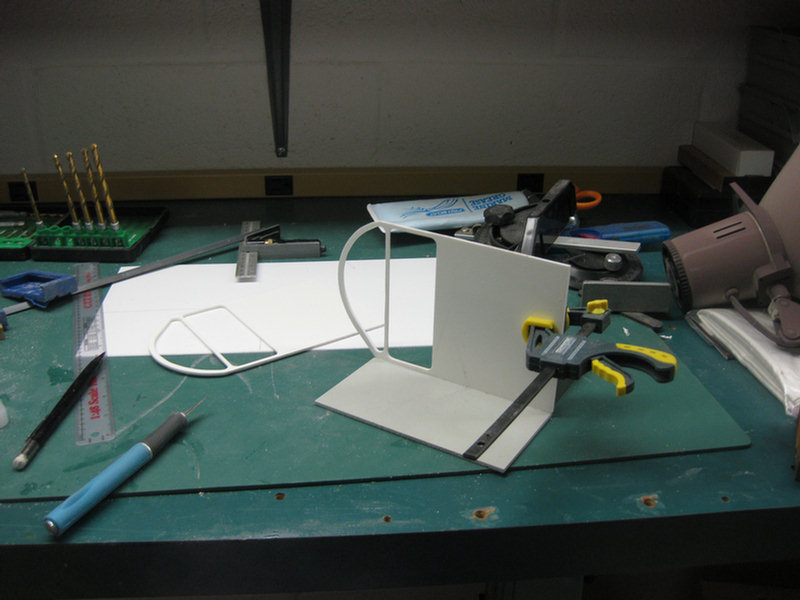
An early throw together.
The start of the main hoist drum.
The main hoist drum partially done.
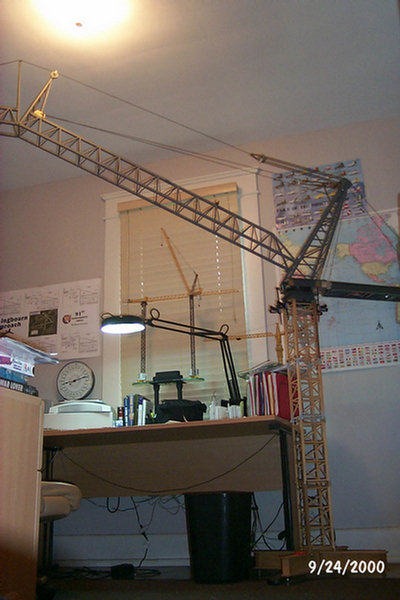
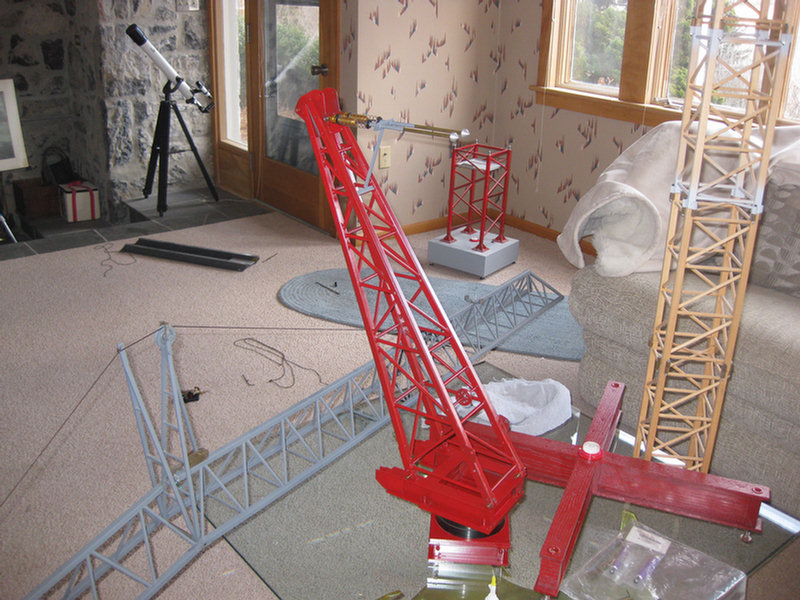
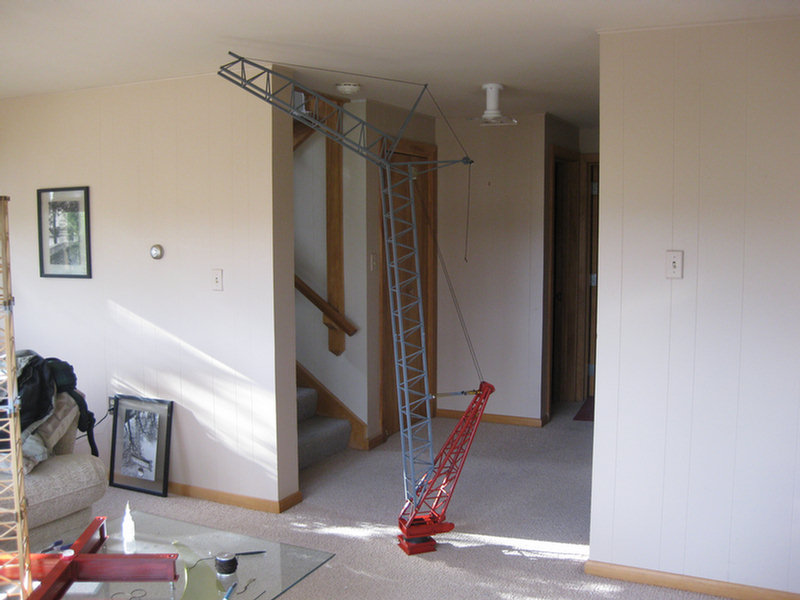
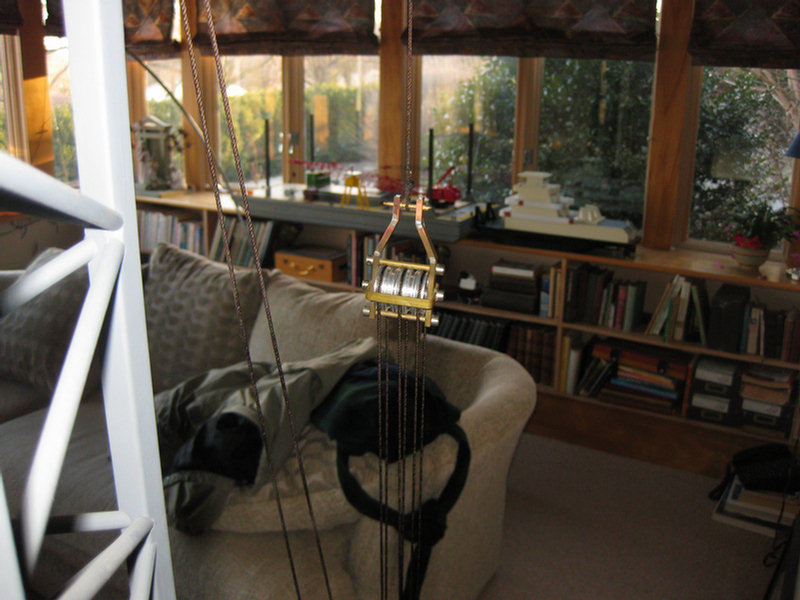
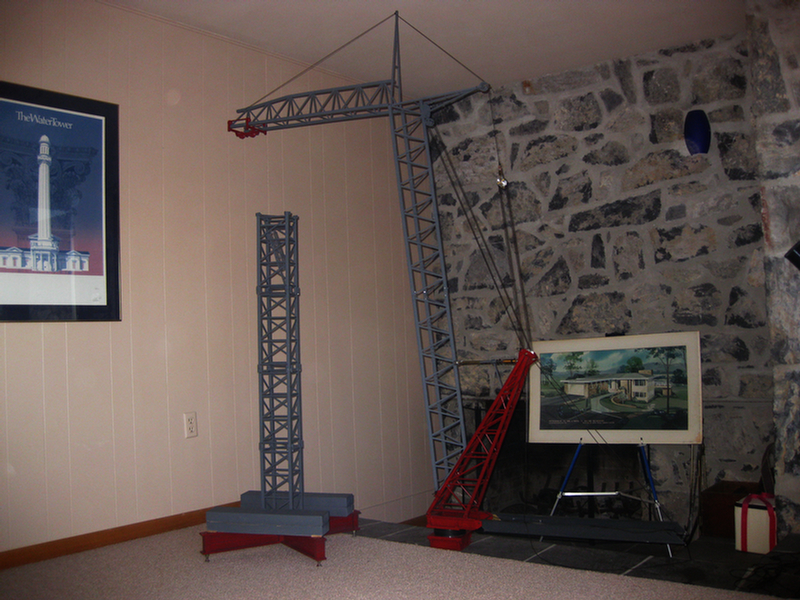
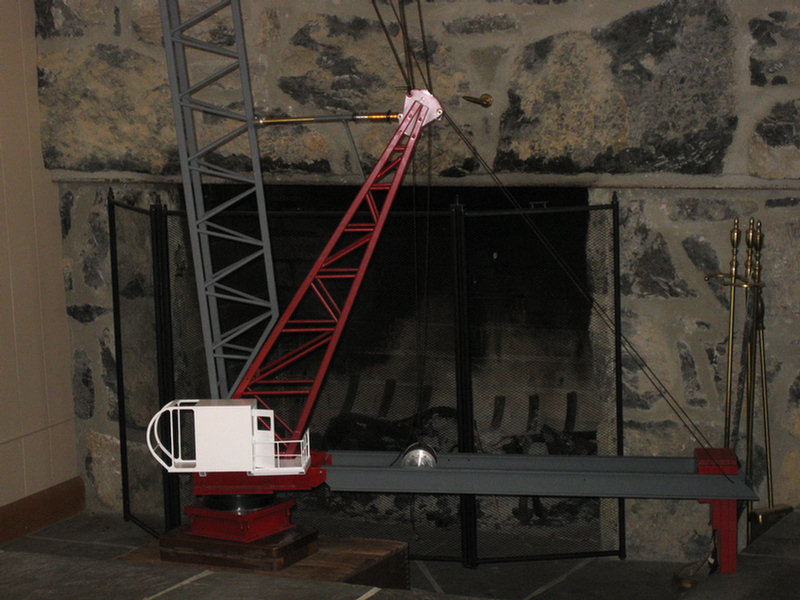
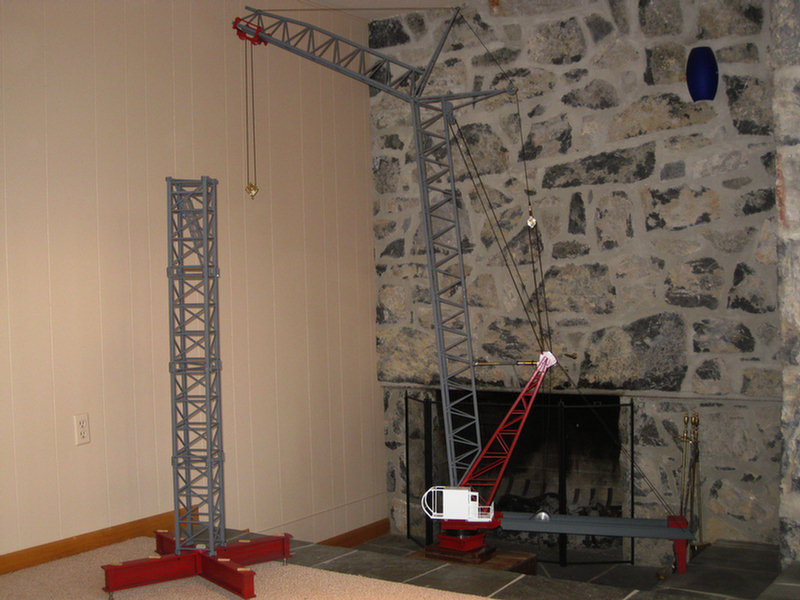
Crane placed in my room.
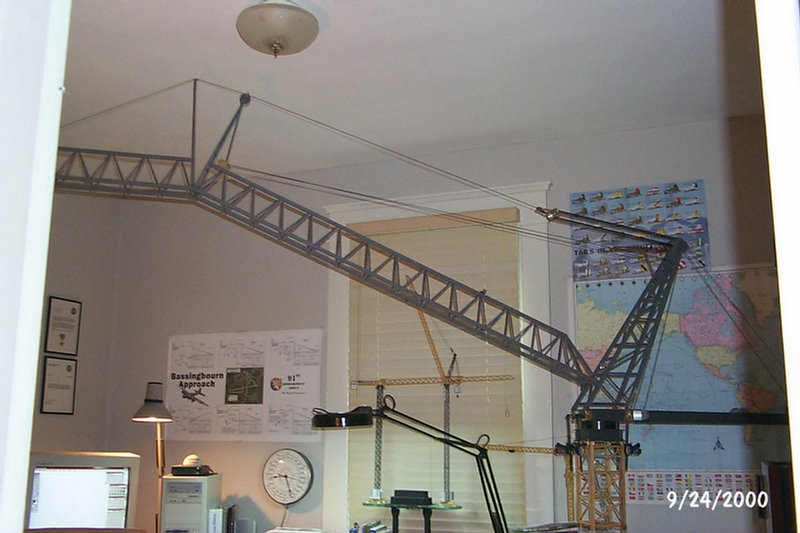
No work has taken place in almost ten years!
FAST FORWARD TO DECEMBER 30, 2008.
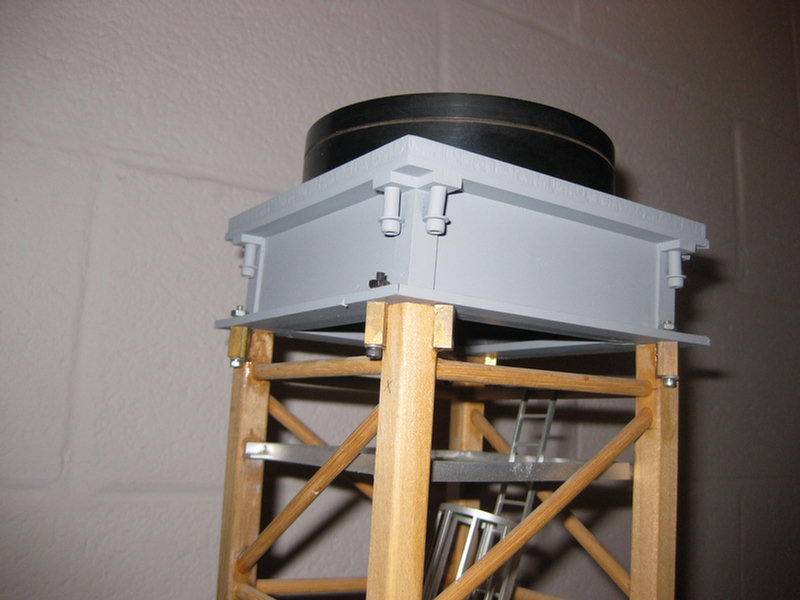
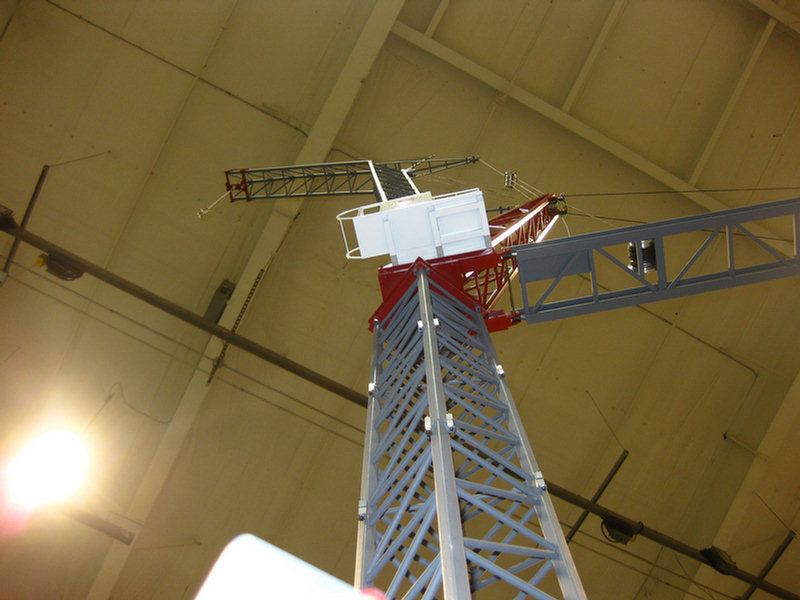
The crane in the earlier photos did not have a working turntable. Close inspection may note that I had clamps in place to keep the upper works from tipping off of the mast. At this time, I will tackle making this connection with a heavy duty bearing so the crane can support itself and swing.
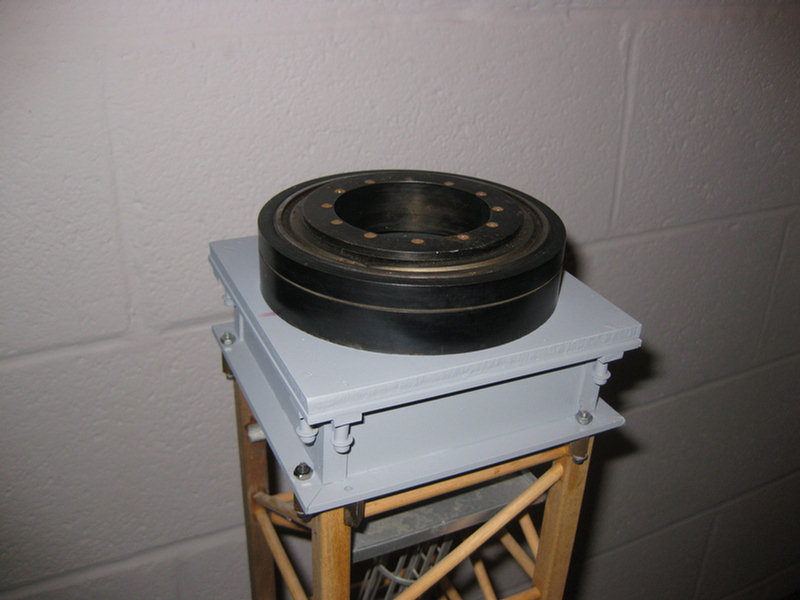
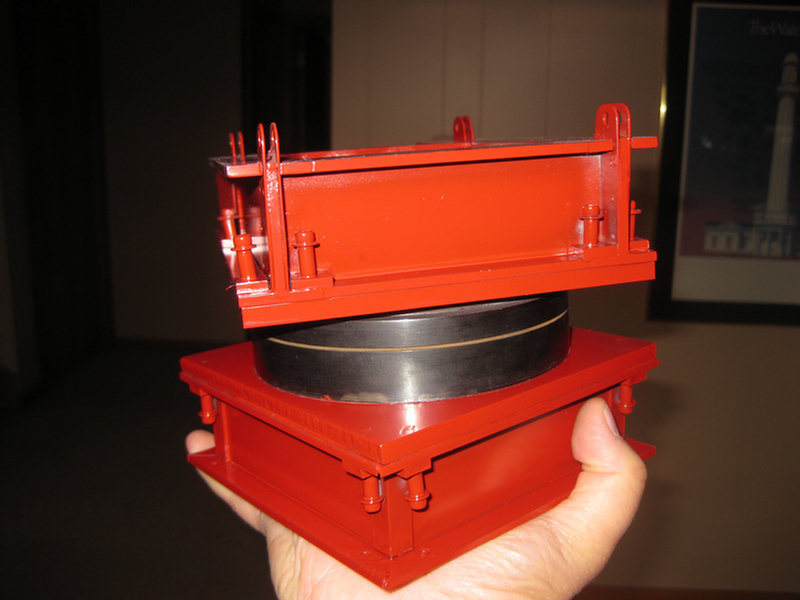
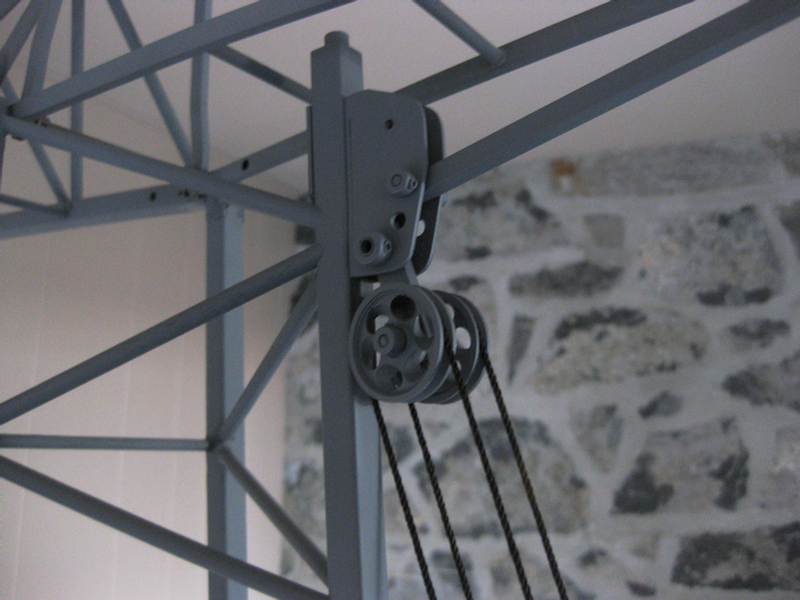
Top of bearing with rings that are threaded to bolt to the upper and lower portions of the turntable.
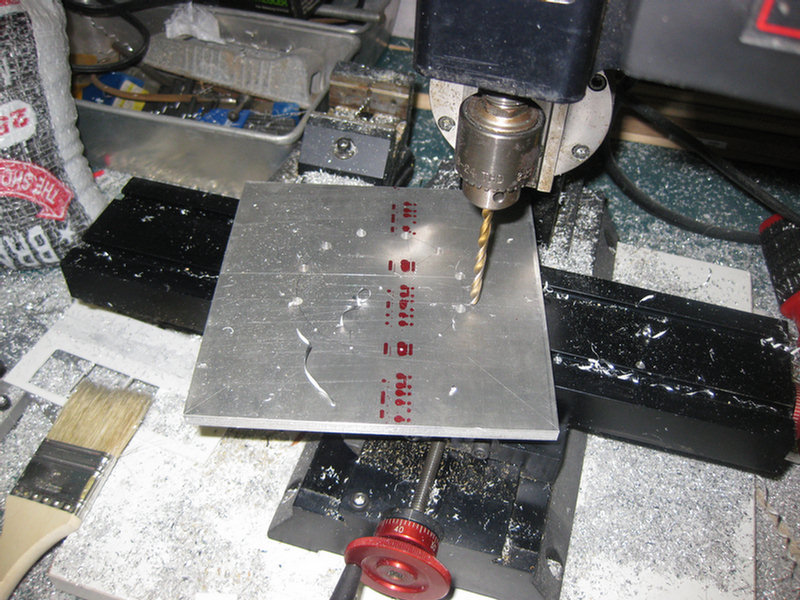
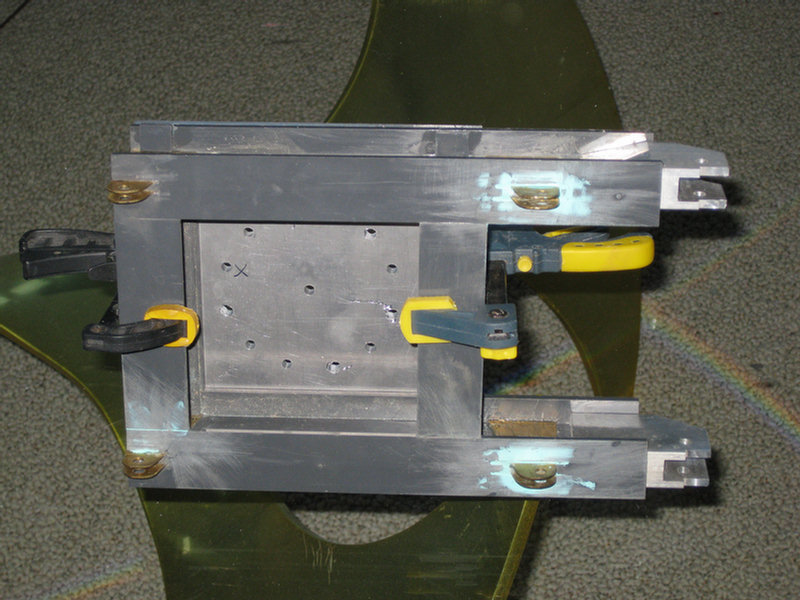
One of the plates that will connect the bearing to the turntable frame.
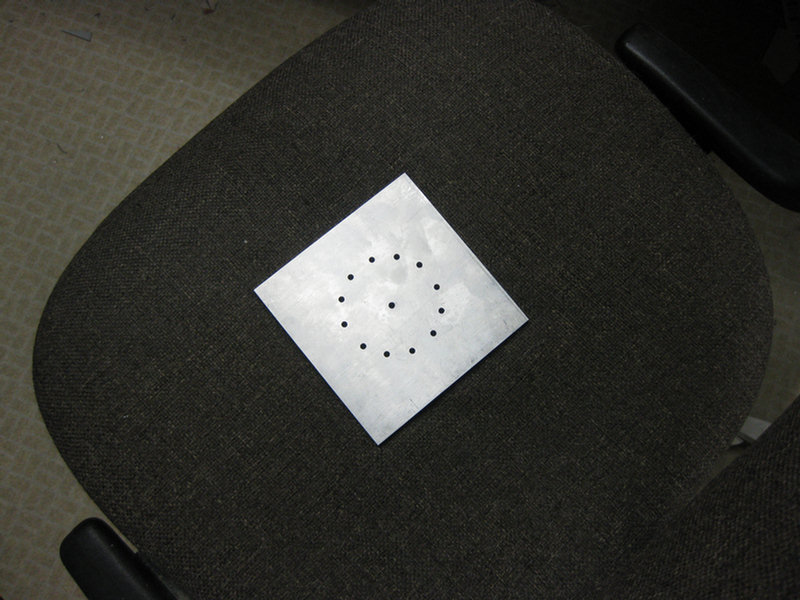
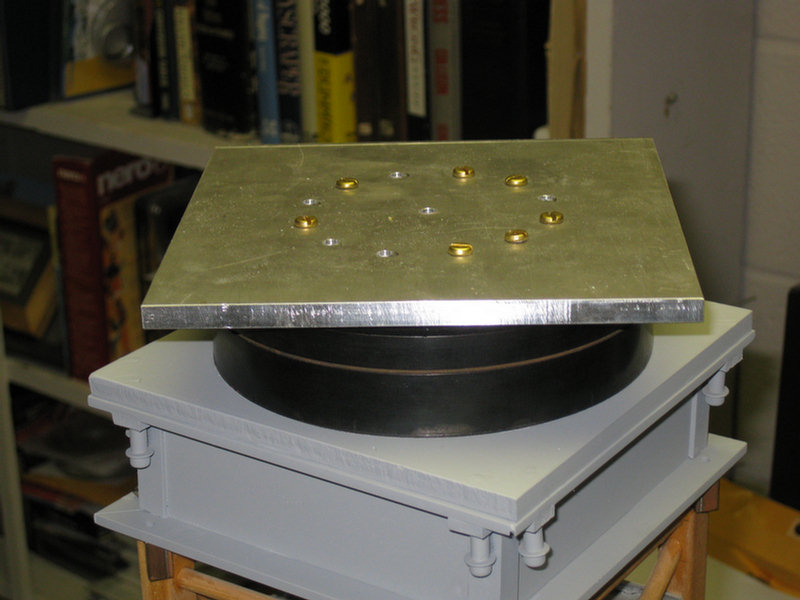
Plate with some of the bolts in place connecting it to the threaded ring.
This is the upper frame of the turntable. The plate has to also bolt to it.
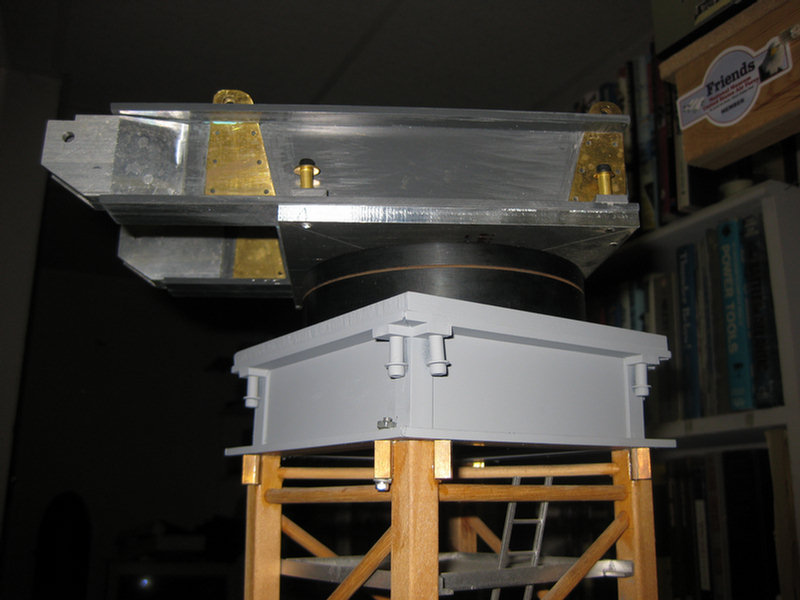
Now both halves of the turntable are connected to the bearing. Turns as smooth as silk!
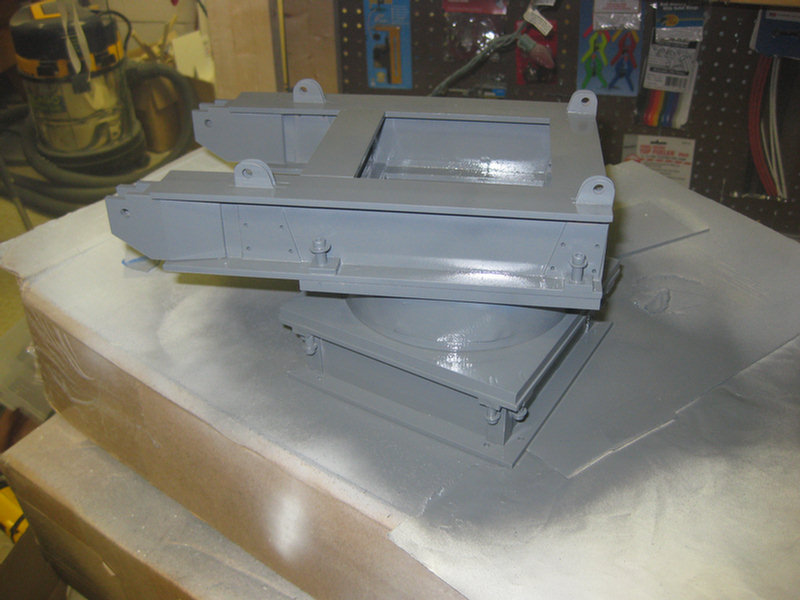
Primed,
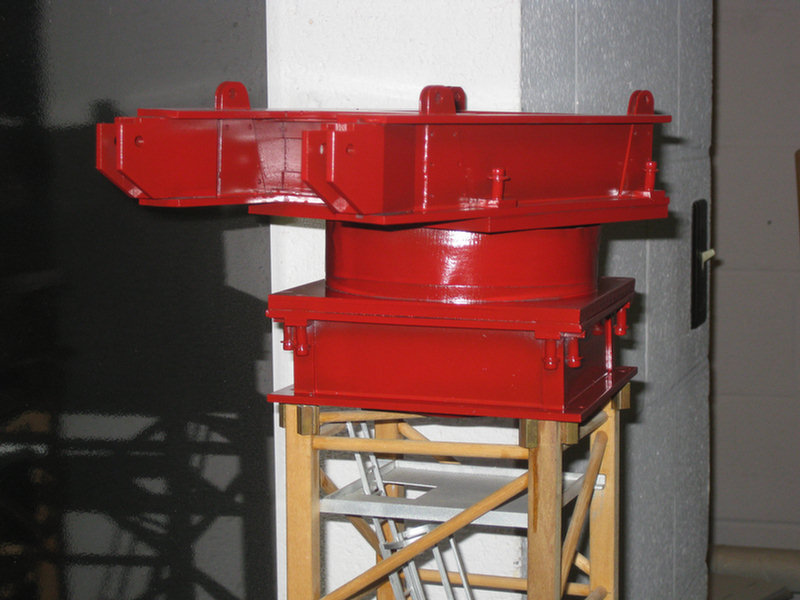
...and painted.
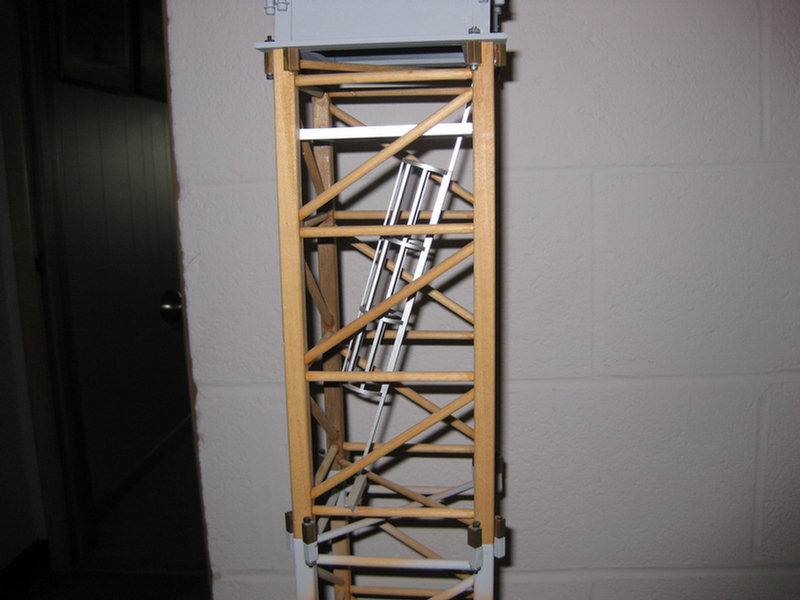
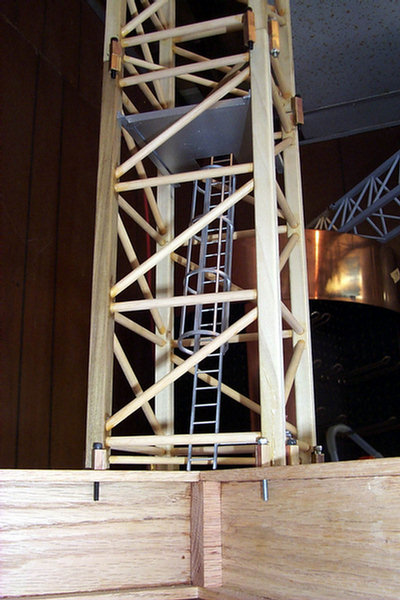
Here is a typical mast section. They turned out well in wood and brass. Hope I can make a duplicate run of four more. I haven't seen the jig in eight years. Hope I still have it!
Haven't weighed this, but my guess it is about 10lbs.

Priming the tower top.
Adding the boom stops.
Trial fitting of the jib (boom)
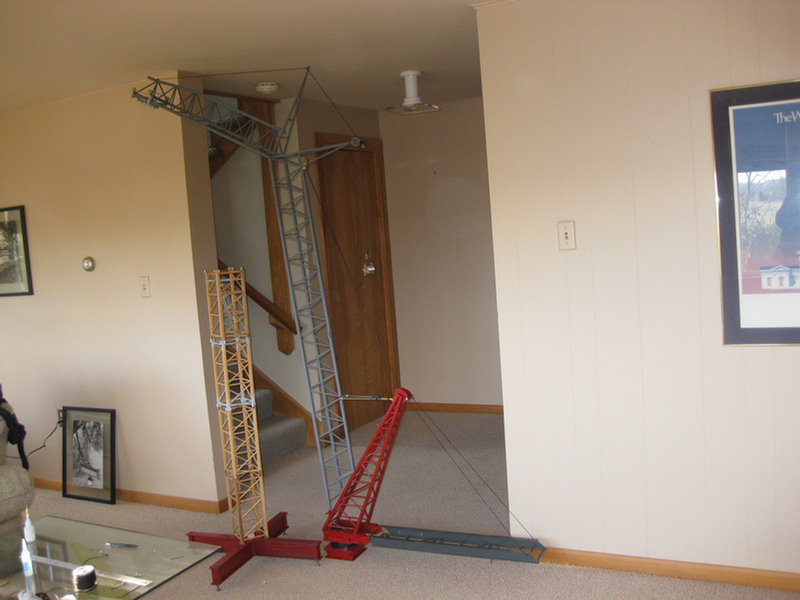
Now to test fit the counterjib. With the jib at this high of an angle, I cannot place the upper on the mast. At least not in this house. :)
Luffing cable reeved. Note outer jib is now level.
Close up of boom stops.
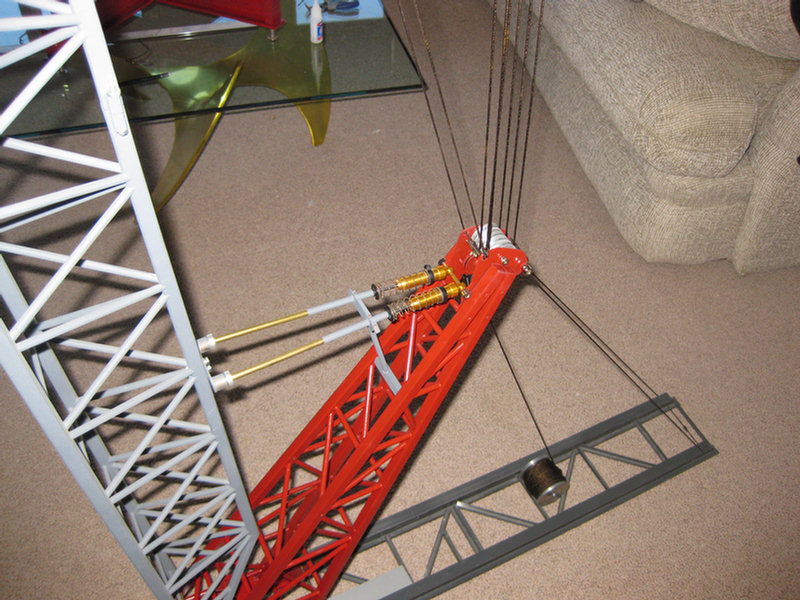
Close up of floating harness.
Need some temporary ballast for the base cross. The permanent ballast will hide the two lead acid batteries which will have some substantial weight of their own. For now, I will create cavities inside the blocks of wood and add a heavy material.

Adding the heavy material to give these blocks some mass.
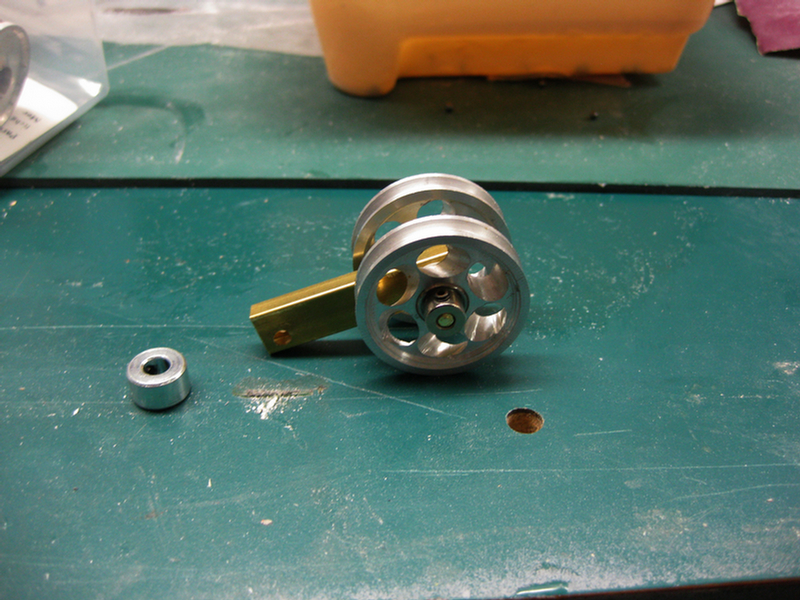
Here, I am building a two sheave block that will aid in raising and lowering part of the jib.
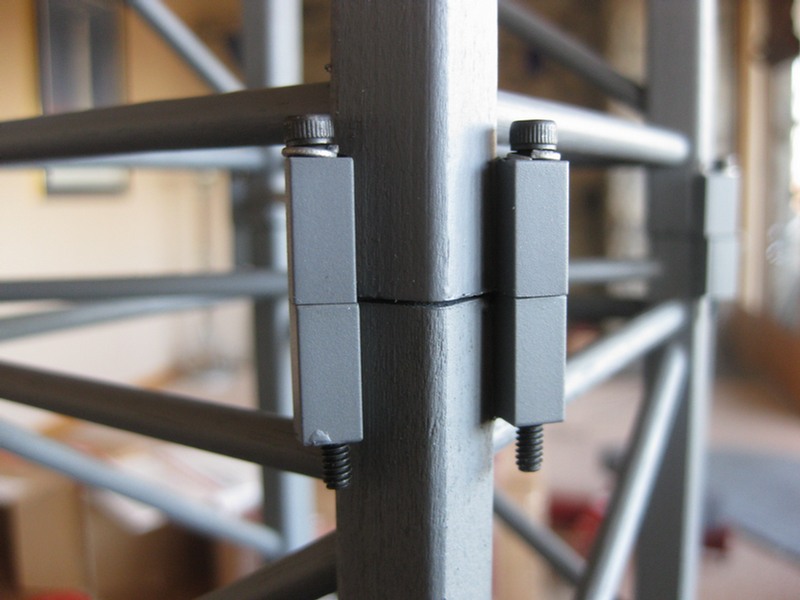
I have primed the mast sections and will not paint them until the ladders and platforms are in. This photo shows the detail of the bolted mast connections.
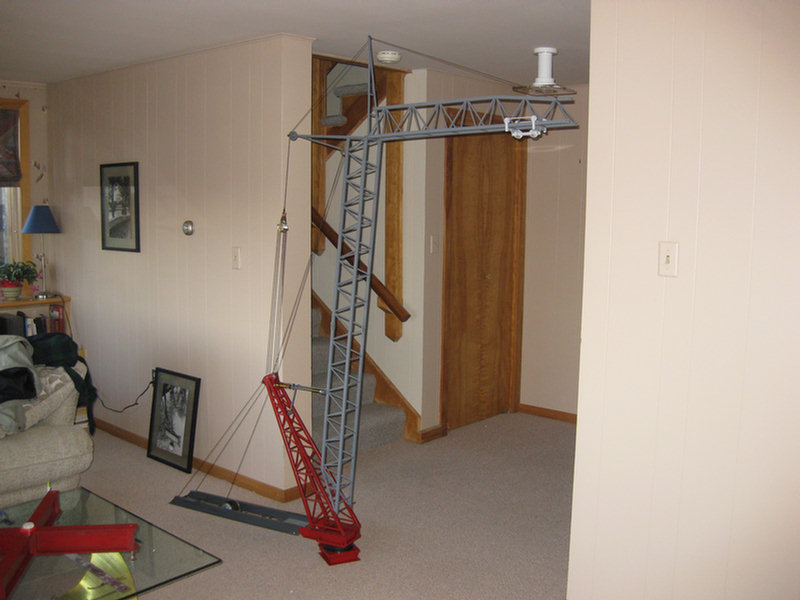
The ballast is on the cross, and the trolley is painted and slid onto the jib.
A close up of the two sheave block rendering a four part reeving of the inner jib.
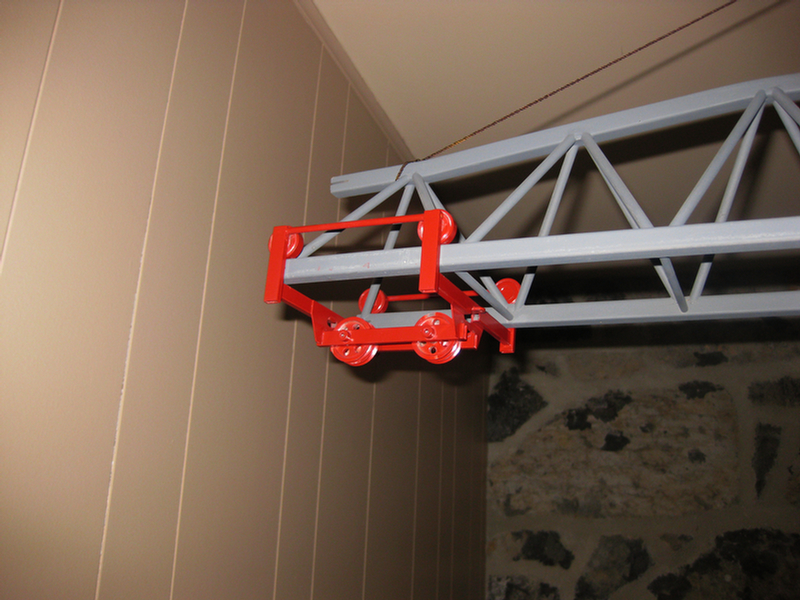
A close up of the trolley.
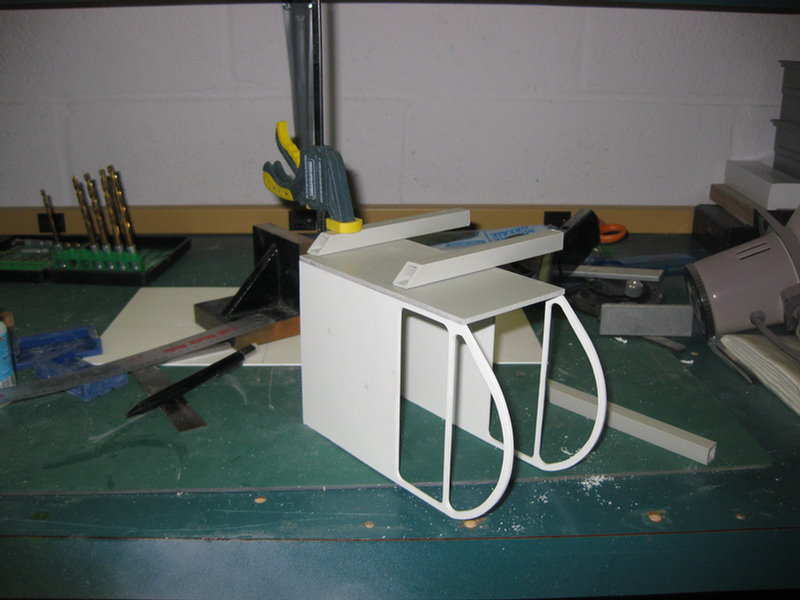
 Time to start the cab and cabin catwalk.
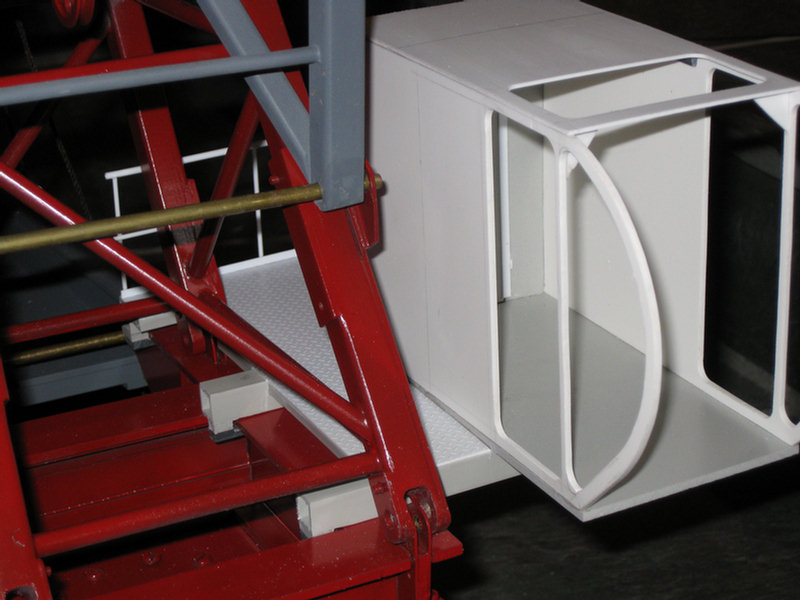
Basic window openings laid out in both sides of the operator's cabin.
Will cut out the curved window opening on the jig saw.
After filing to the exact shape, the first side is glued to the cabin floor.
I have clamped the side to a 90 degree angle block to keep the cab square.
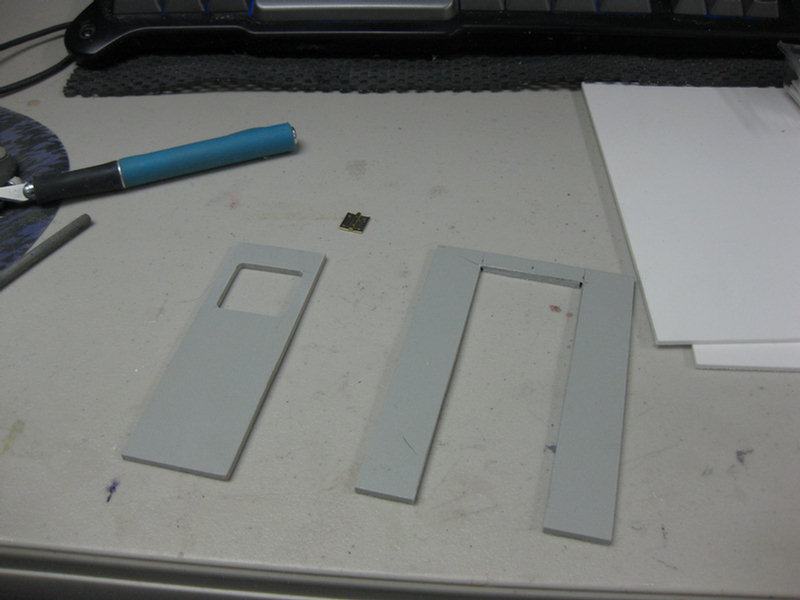
These are two of the three supports that will connect the cabin and catwalk to the turntable.
The square tubes being glued to the floor of the cabin.
Time to make a door so the operator can get into his cab.
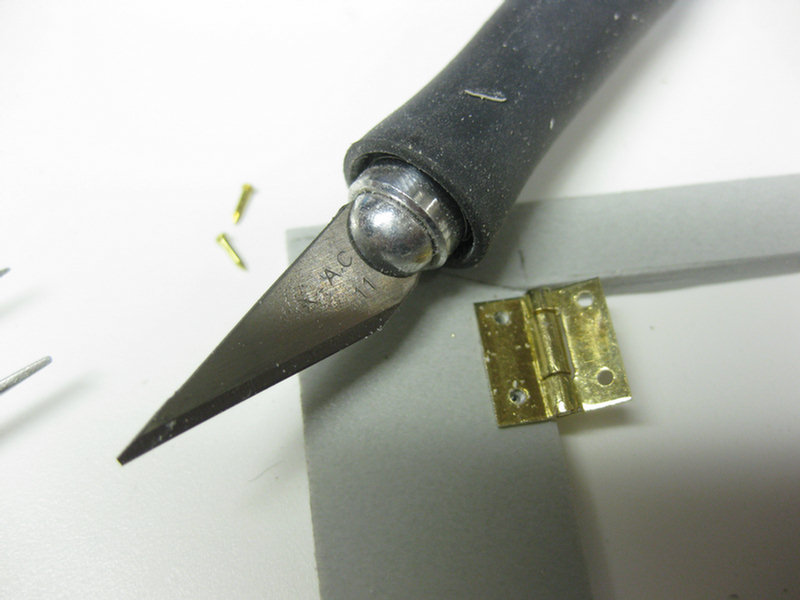
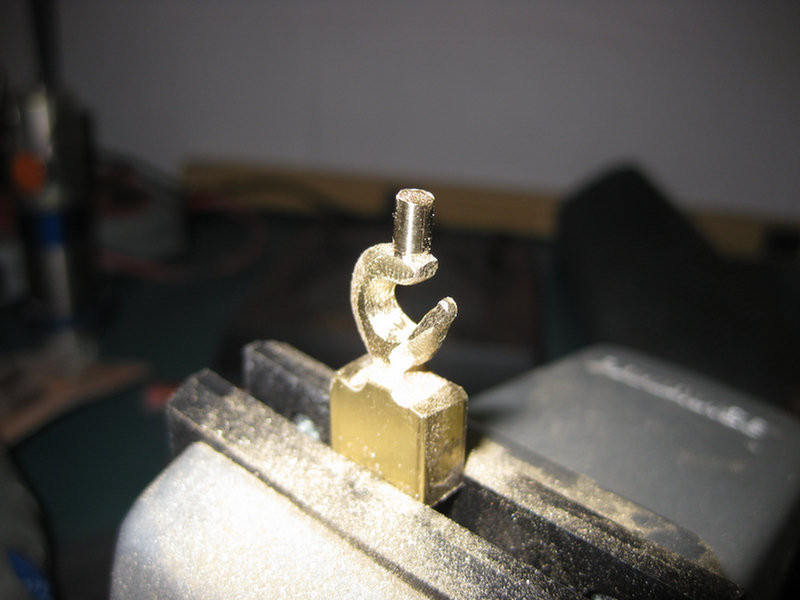
YIKES!! These hinges are small. Or my thumbs are too big!
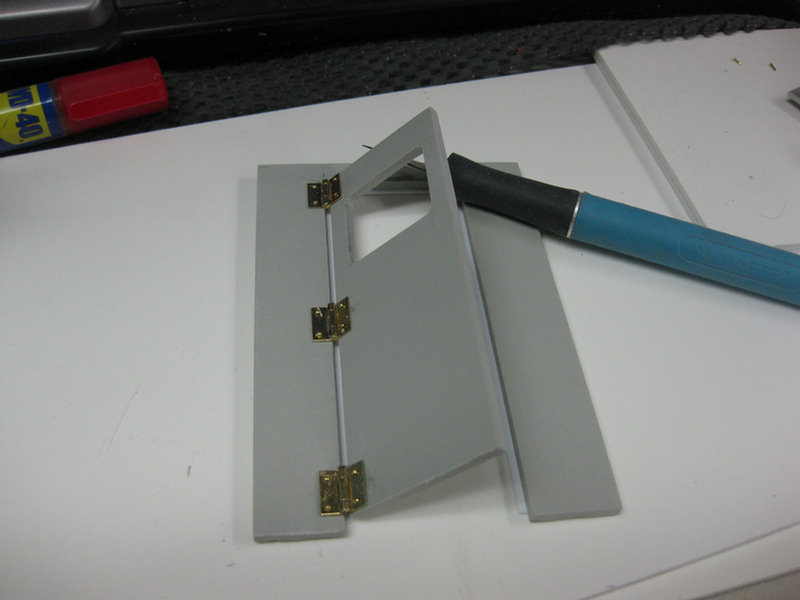
Finally got all three of the little buggers in place.
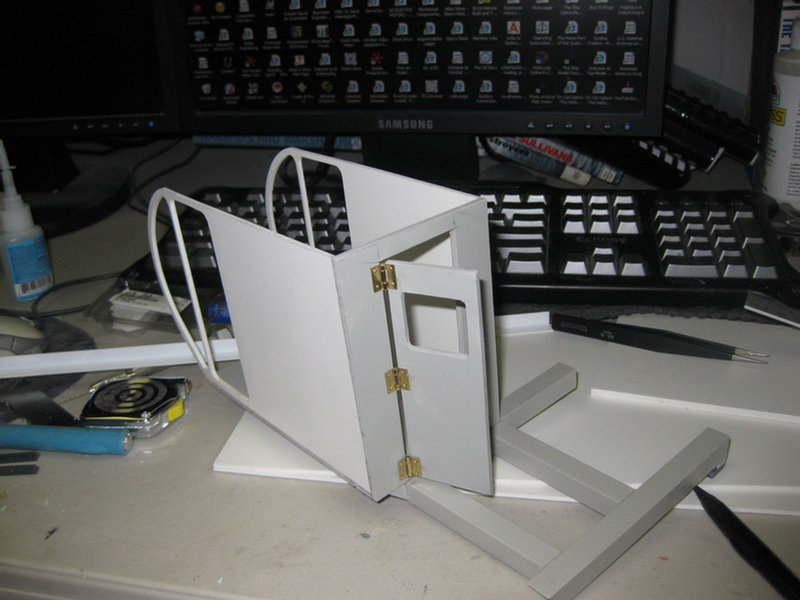
The rear of the cab support frame will support the anti-skid plate.
Anti-skid plating is in place and it is time to make some handrails.
Here, I have the toe rail in and the mid rail on. This will keep the OSHA inspector off my back!
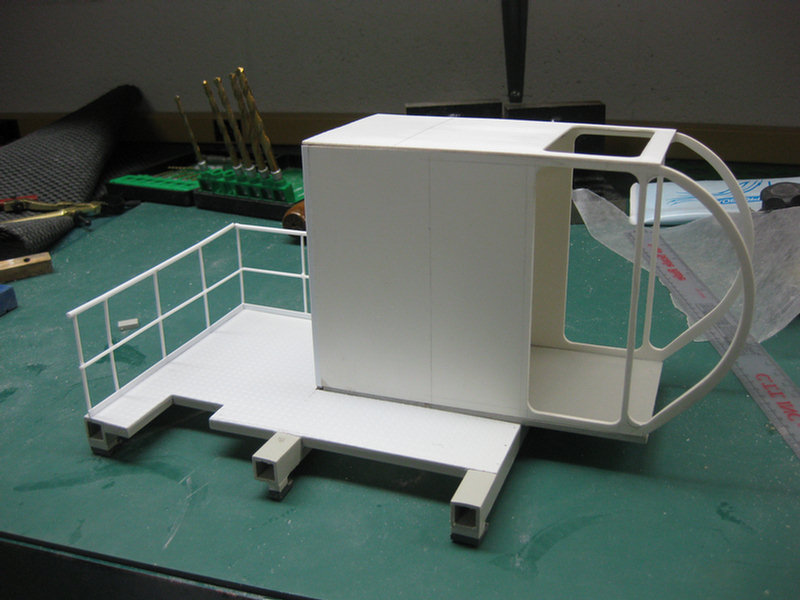
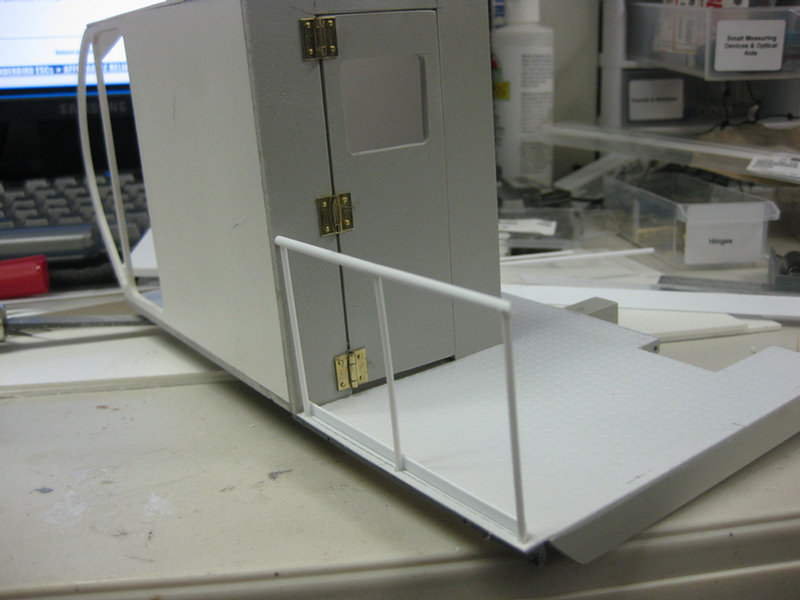
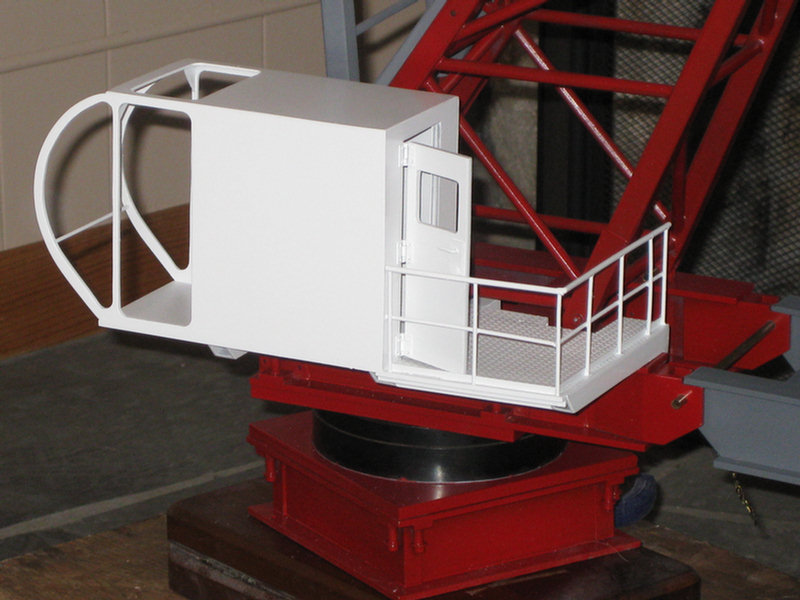
Another view of the cabin. Ready for a test fit to the turntable.

Pretty good.
I'm real happy with the outcome of the cabin!!
Here is how the cabin support frame connects to the turntable. Simple! Now I will put a door handle on the door, then prime and paint. Will glaze after that. There is room (I hope) to place the three rectangular windows from the inside. The curved front glazing installs from the outside.

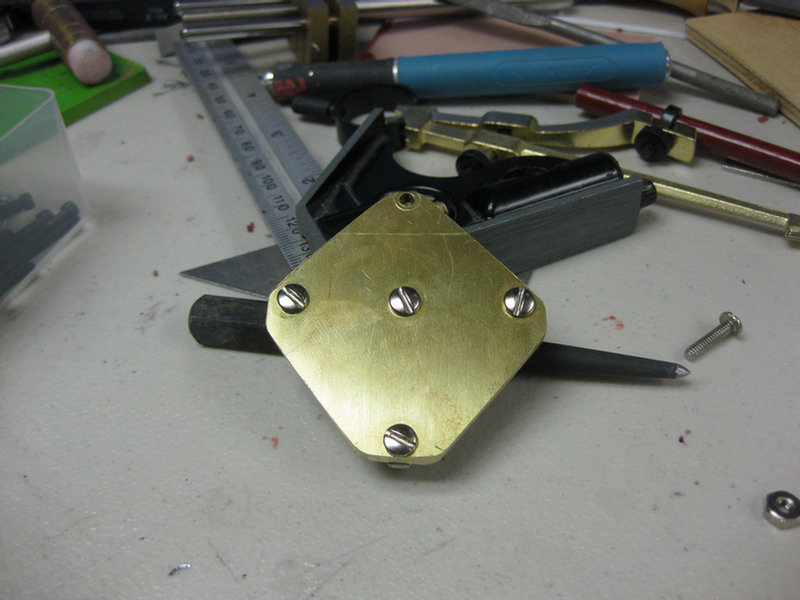
Time to make a load block for the crane. I drew the basic shape on a piece of brass. Will mill a rough resemblance to it on the milling machine.
Well i said it was a "rough resemblance didn't I? :) Also not that I already turned the shaft of the hook on the lathe.
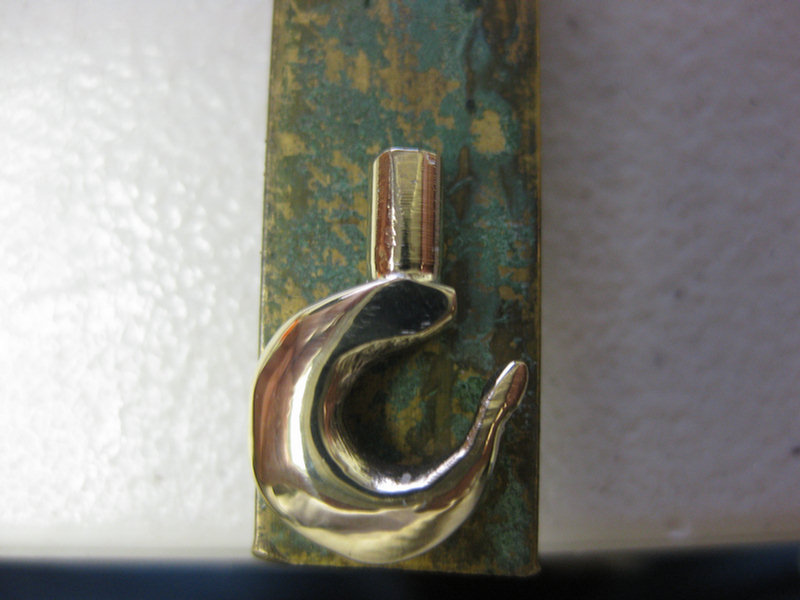
Here is the kook against the original piece of brass stock. This might be another one of my "proto-types."
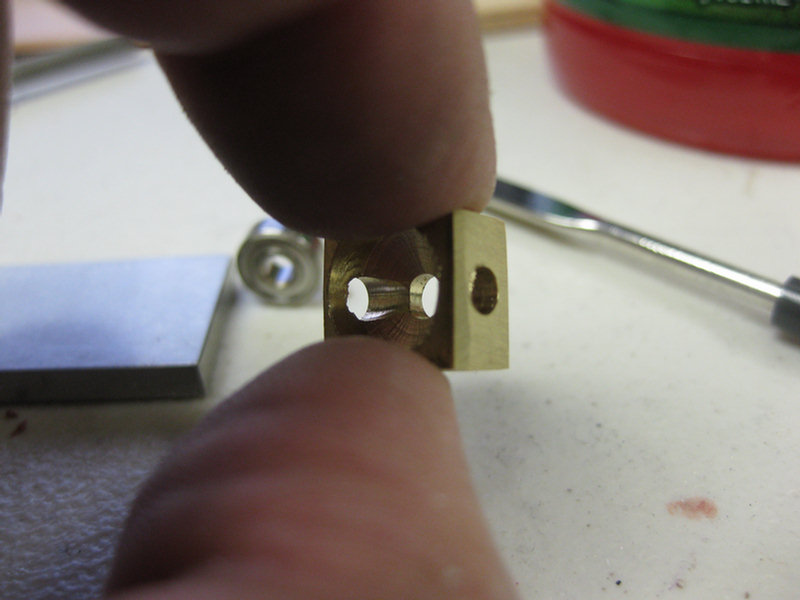
The hook will reside in a bearing that will be housed in this brass holder. This must pivot in the load block.
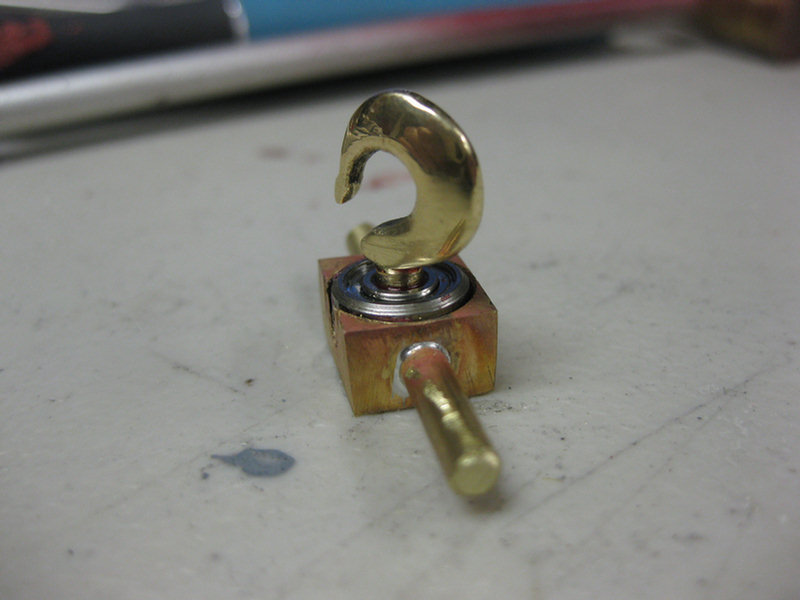
Here the hook is in its bearing and pressed into the pivoting housing.
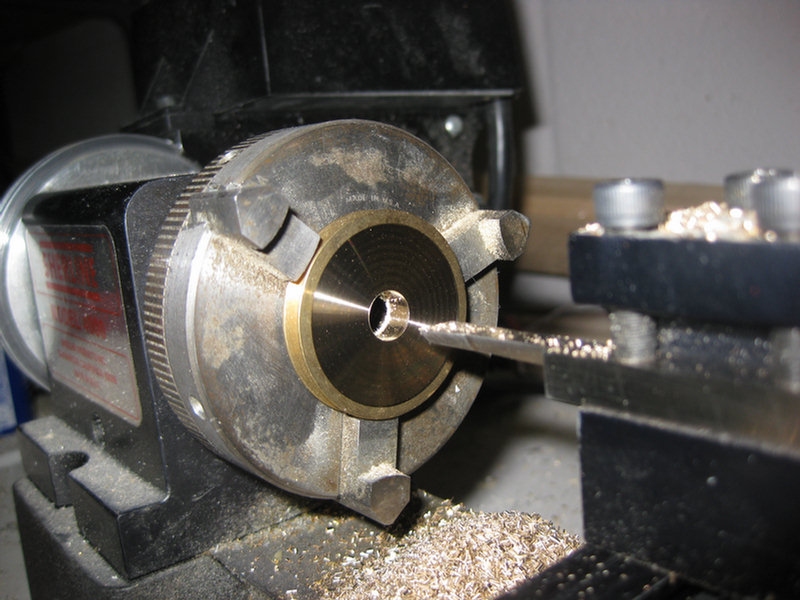
Making the single sheave for the block in the lathe.
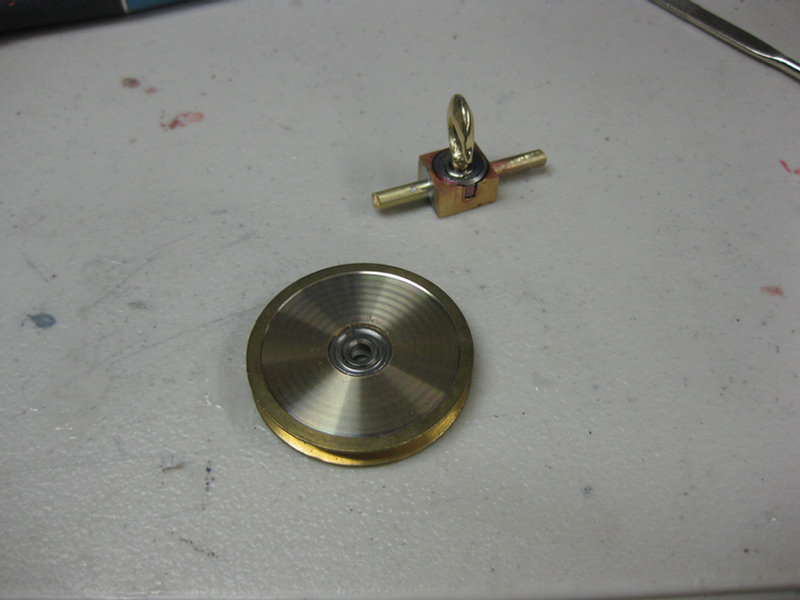
Both pieces ready to be installed to the sides of the block.
Here is one of the side plates for the block.
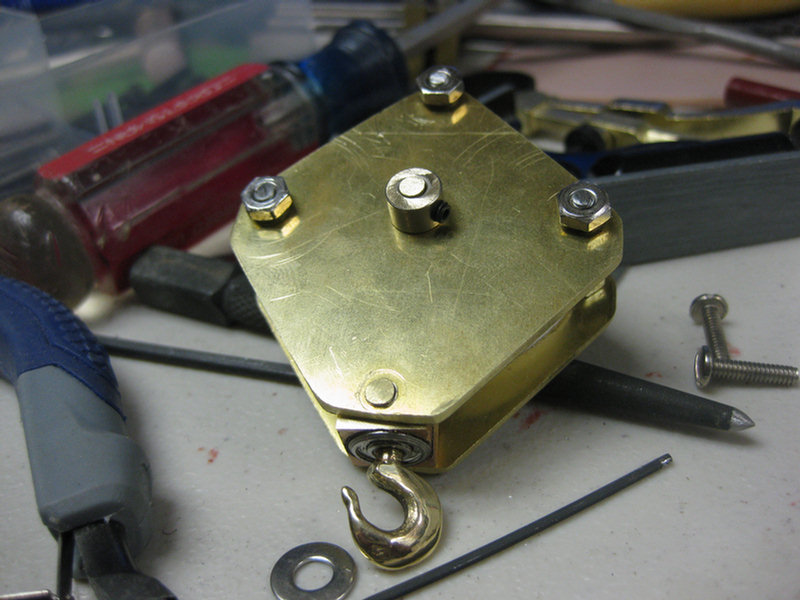
Here is the block assembled.
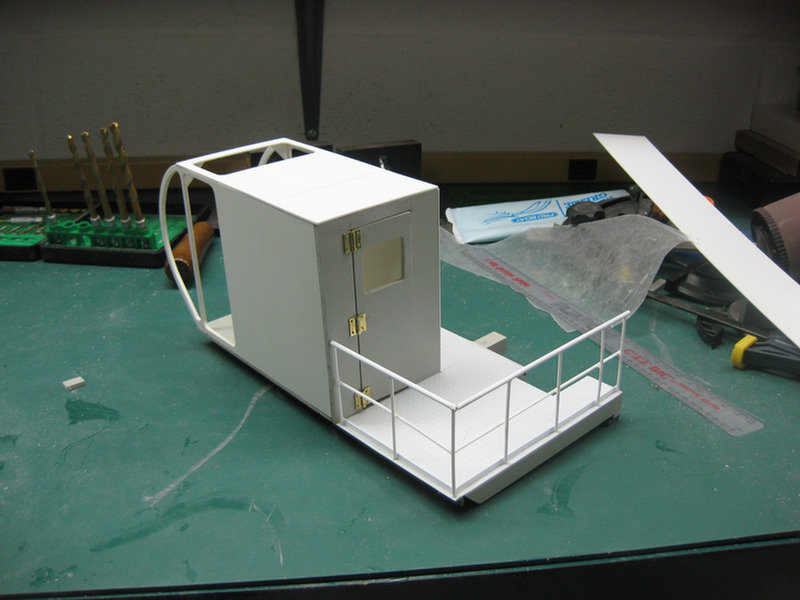
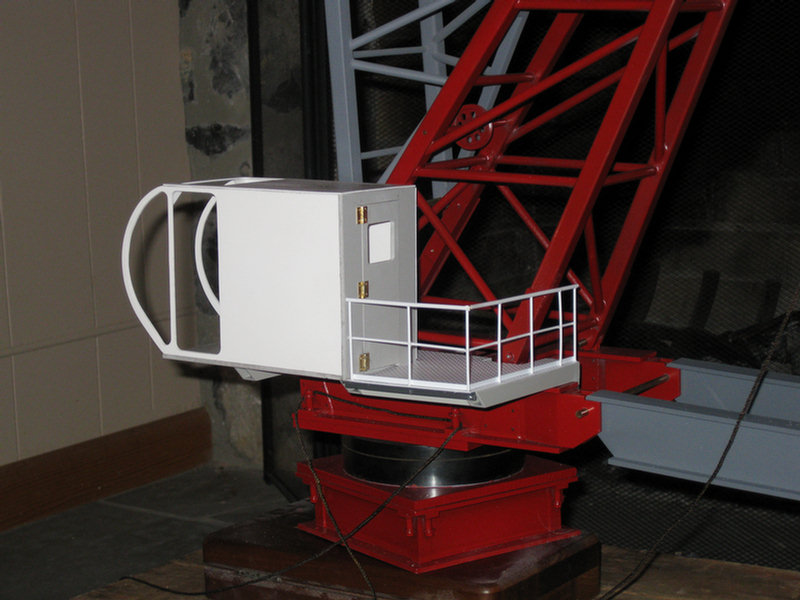
The cab is now painted. Want to build the inside items for the cab (operators seat & desk and the electrical control cabinet before I put the glazing in.
The side of the cab will be a good place to put a company logo on.
Well boys and girls, This is about as far as I can go before this show takes place. Any other endeavors on this model will take too long to finish. Therefore, I will now go back to the towboat and see what else I can get done on it before the show on the 17th.
TAA DAAAA...