Main Deck
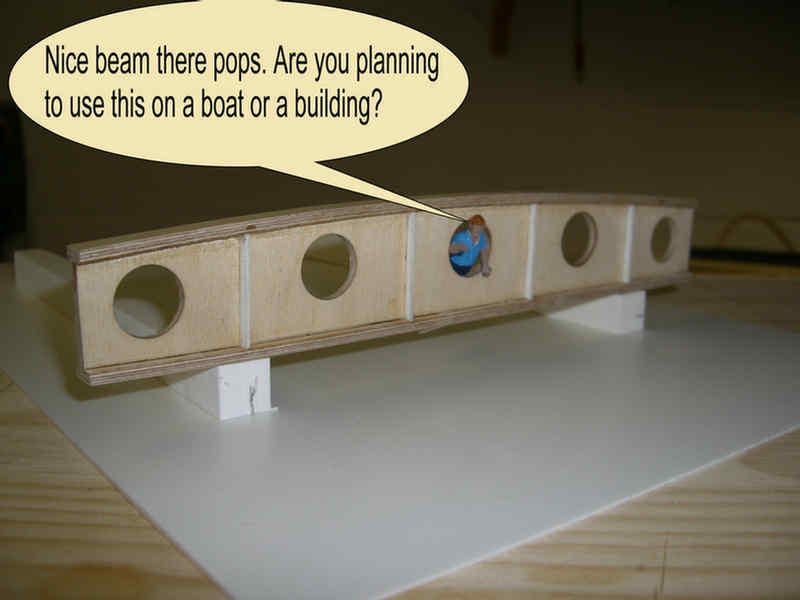
I'm not very far on the main deck as yet. Just playing around with deck beams to find the best strength to look ratio.
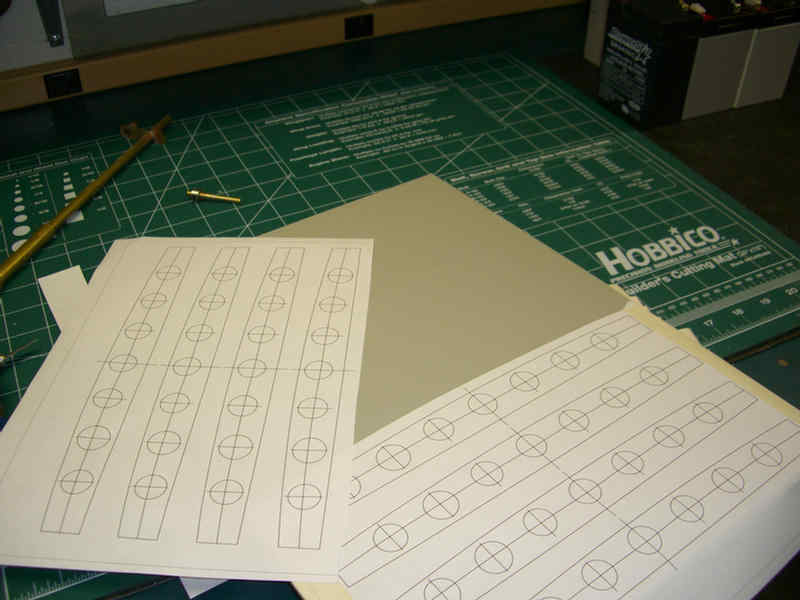
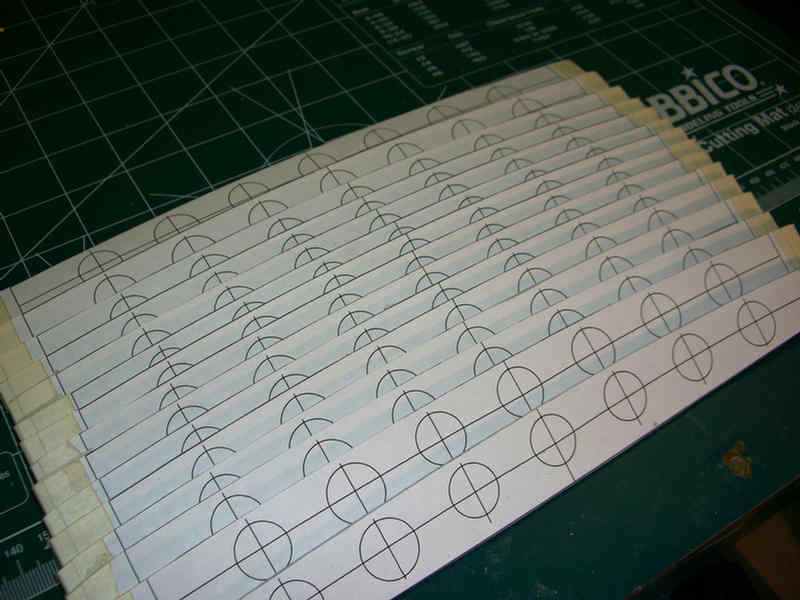
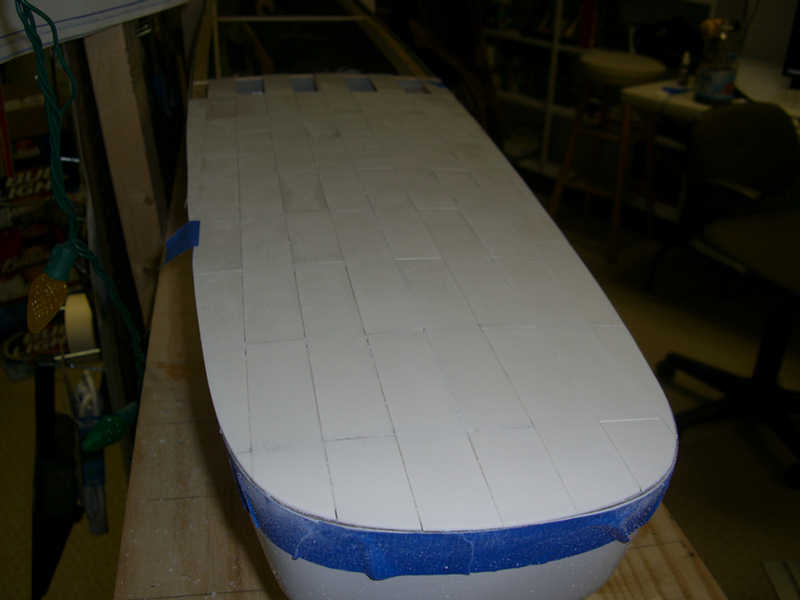
Taped patterns to the Sintra board

I can't cut a straight line with a band saw, and now I see, I can't cut a curved line either. I get it close and something else finishes it.
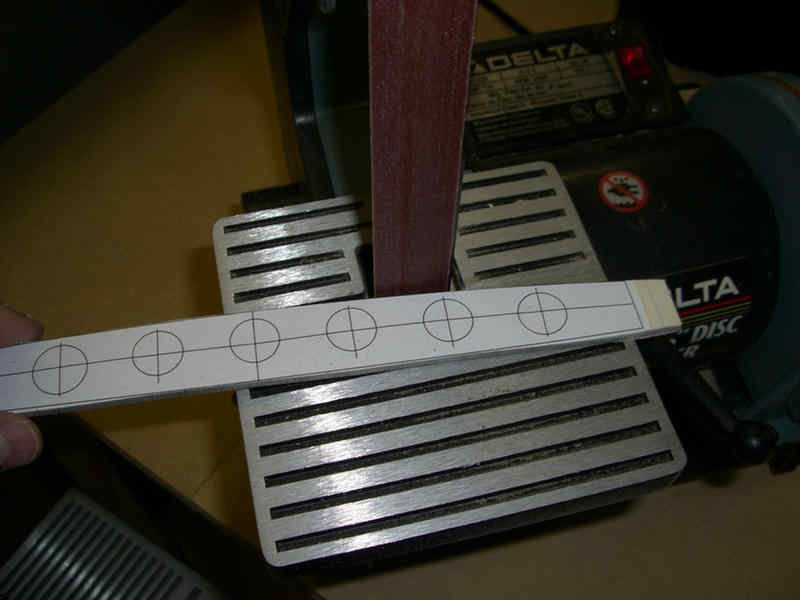
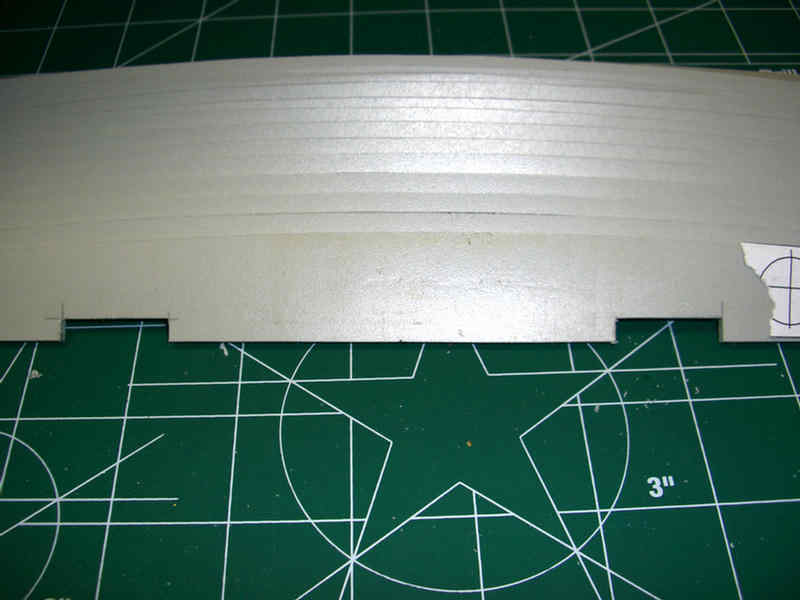
Bringing it down to splitting the line in half!
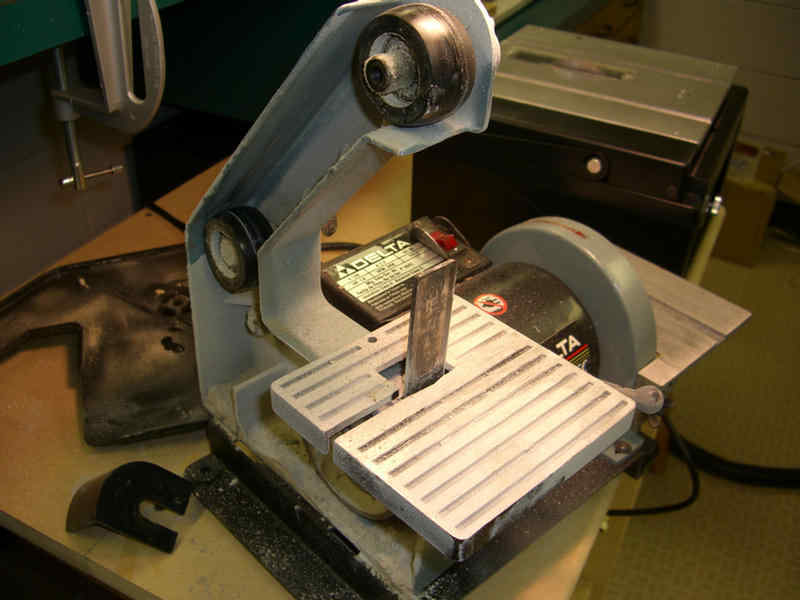
Oops! Well, looks like I need a new belt. Just so happen to have one and no more than five minutes of lost time.
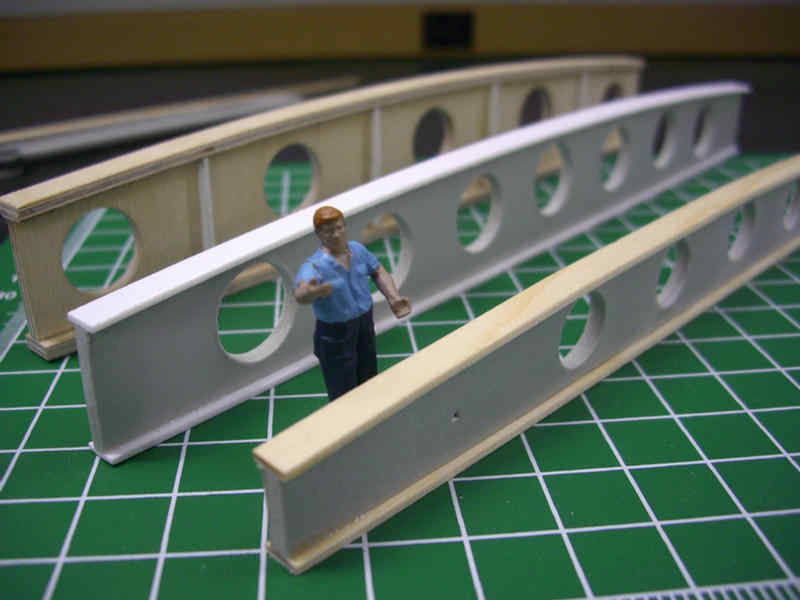
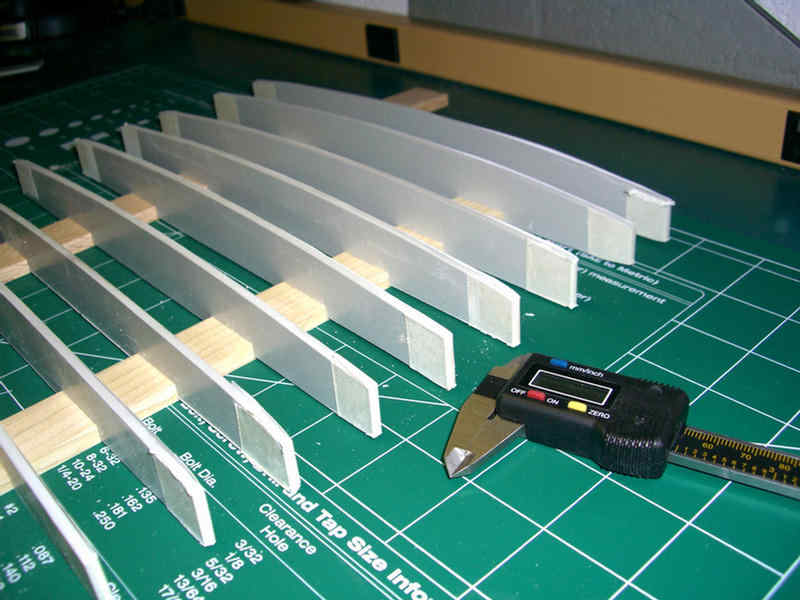
Now that's a Bag 'O Beams.
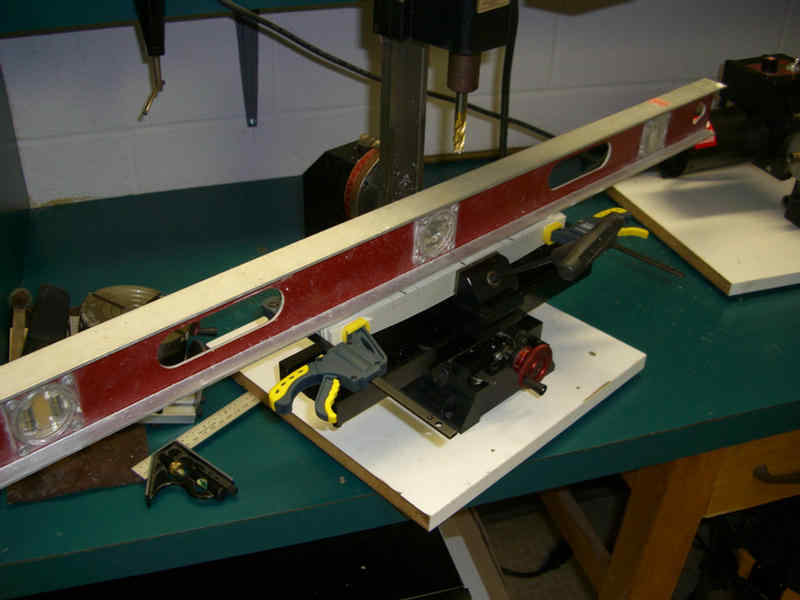
The curved surface of the beam against the bottom of the vise caused me to have to revert to another way to make sure the stock was level to the mill tool.
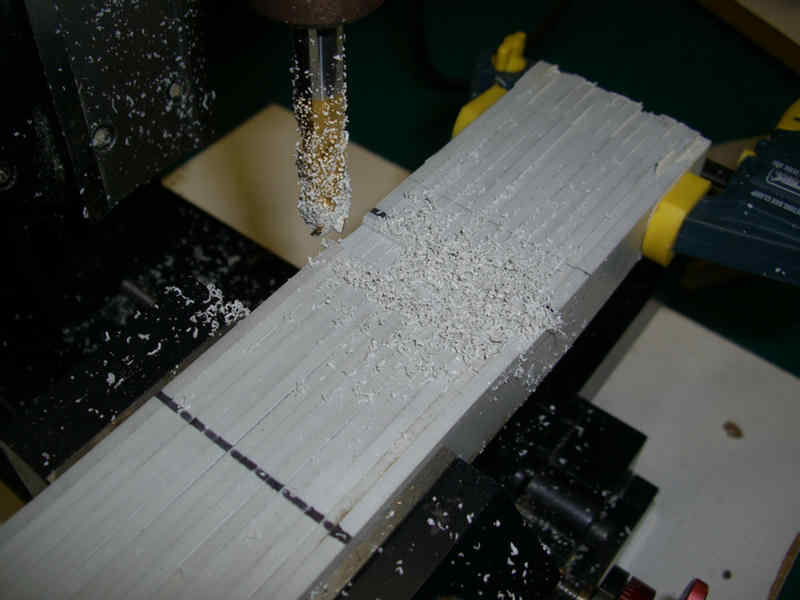
First pass and all seems well.
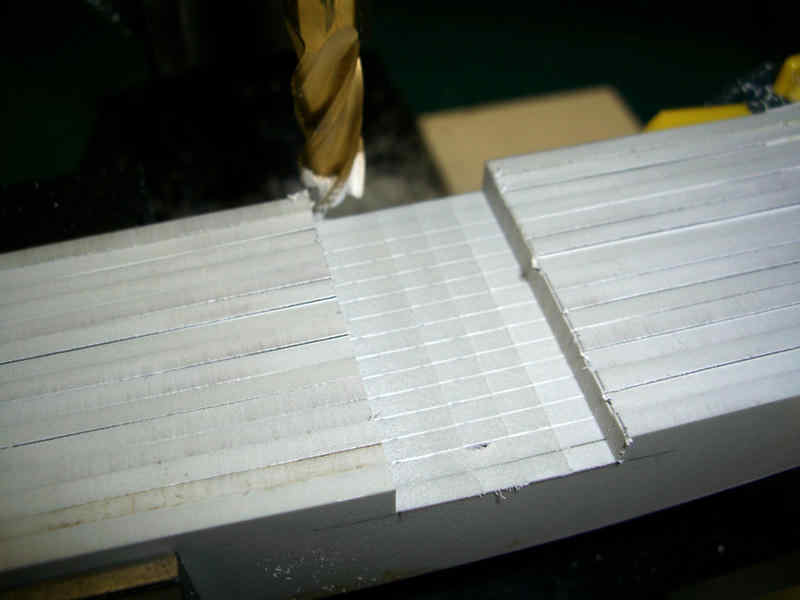
Almost done.
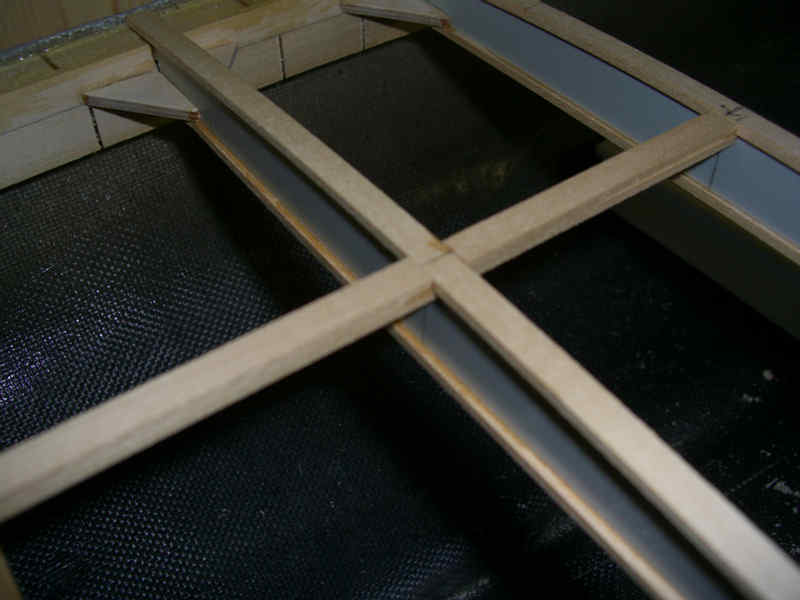
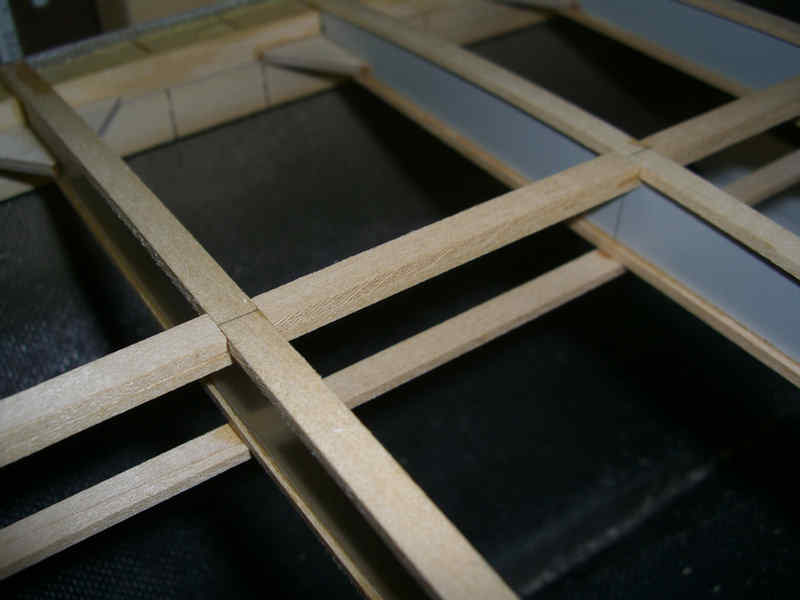
Now, both slots cut in this set of beams.
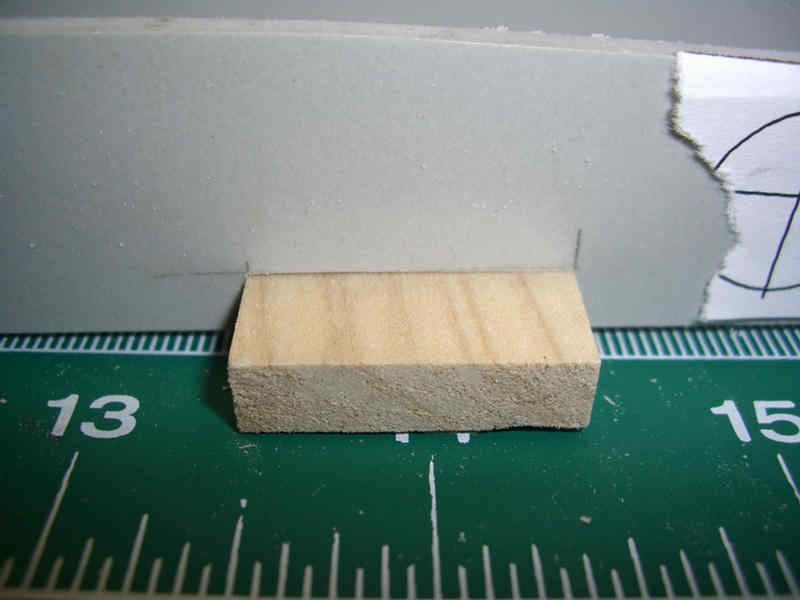
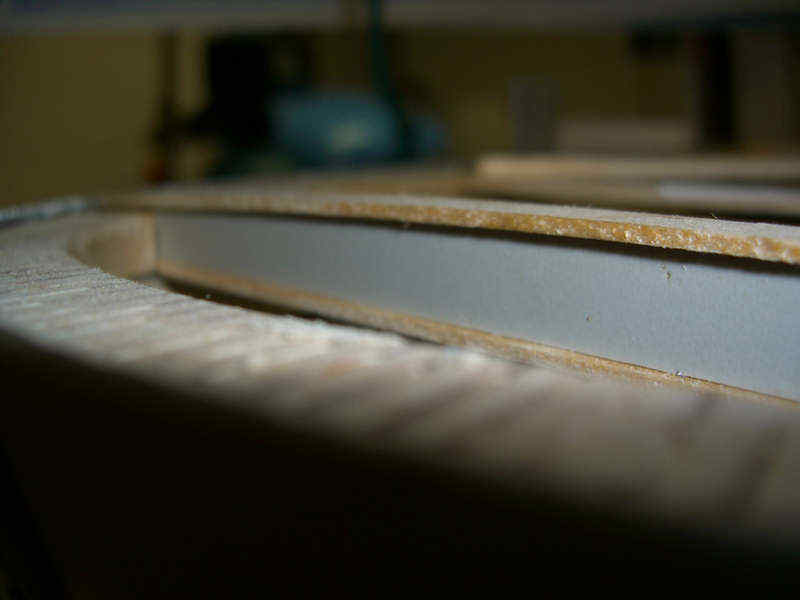
The wood spine seems to fit well.
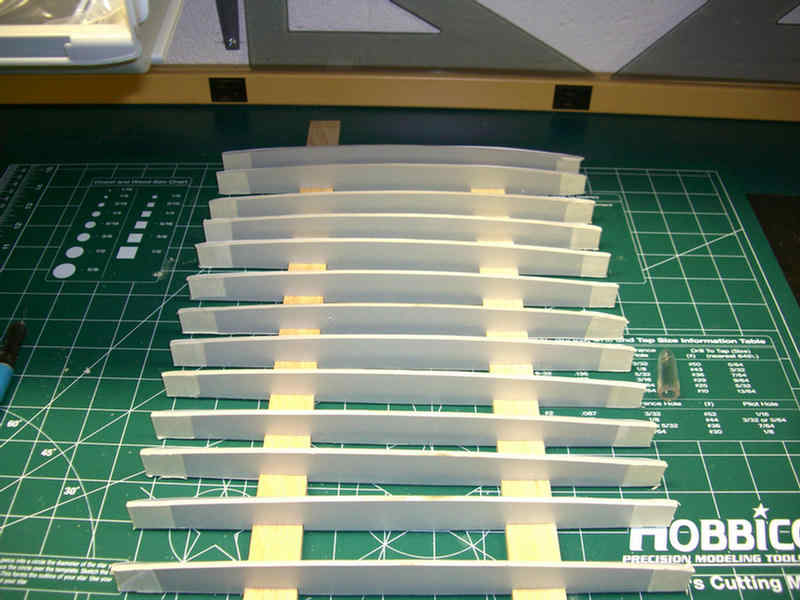
Beams just resting in place as once they are properly spaced, they will be further apart. Each beam is cut one inch longer than expected to be needed. But until I get the hull, I have to leave a little extra to work with. Additionally, I cannot place the top and bottom webs in place until the beams are attached to the perimeter beams of the main deck.
Still need to bore some holes in the beams for linkage and wiring to pass through.
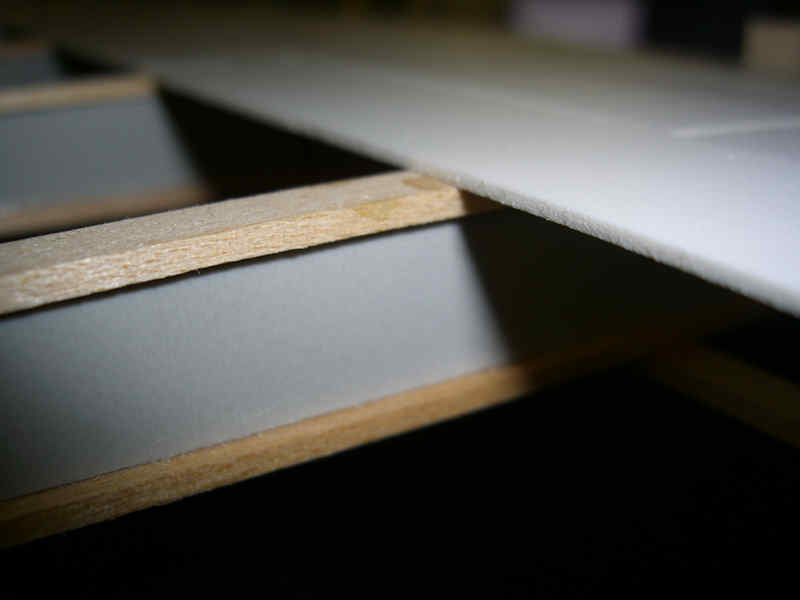
Fast forward: Now that I have the hull, I notice the above beams are too deep. As you will see below, I have reduced their depth, and will be able to use them.
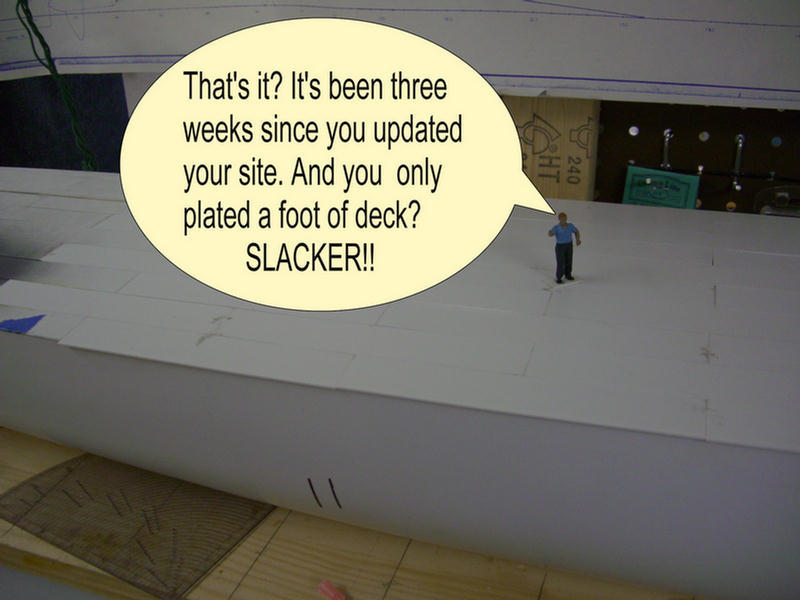
WANKER: Hey pops, maybe you should have waited until the hull arrived. Rumor has it that your not very patient at times.
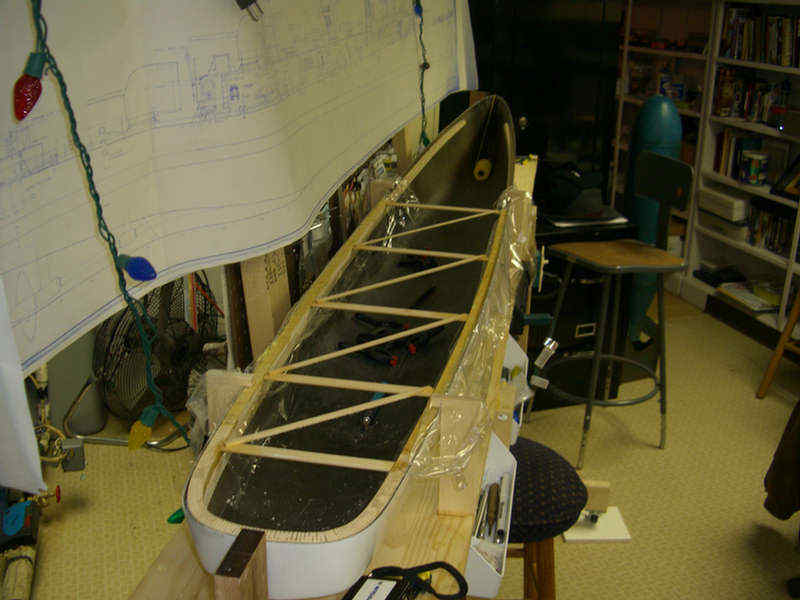
Temporary bracing in place to keep removable main superstructure deck in its proper shape until the beams are installed.
The installation of the first beam starting from the stern. Note the crown to the beam. This crown, added to the shear of the main deck, will add a host of extra work on this model. Oh well. Time to dive in.
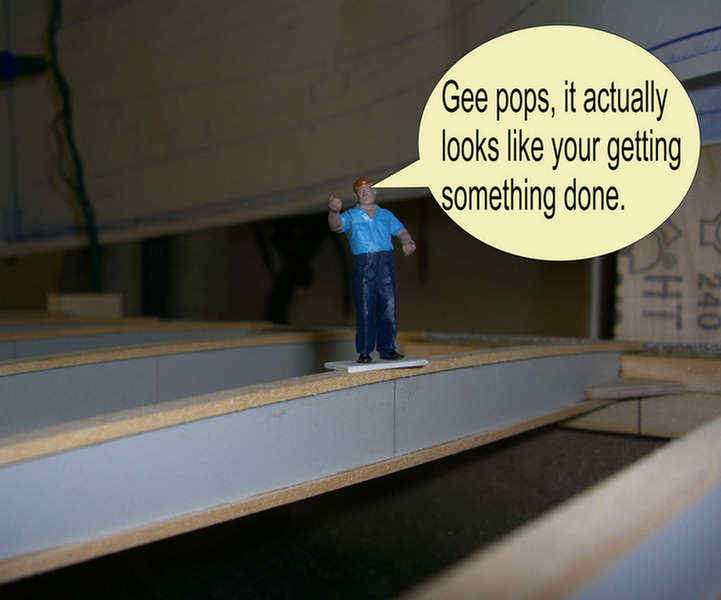
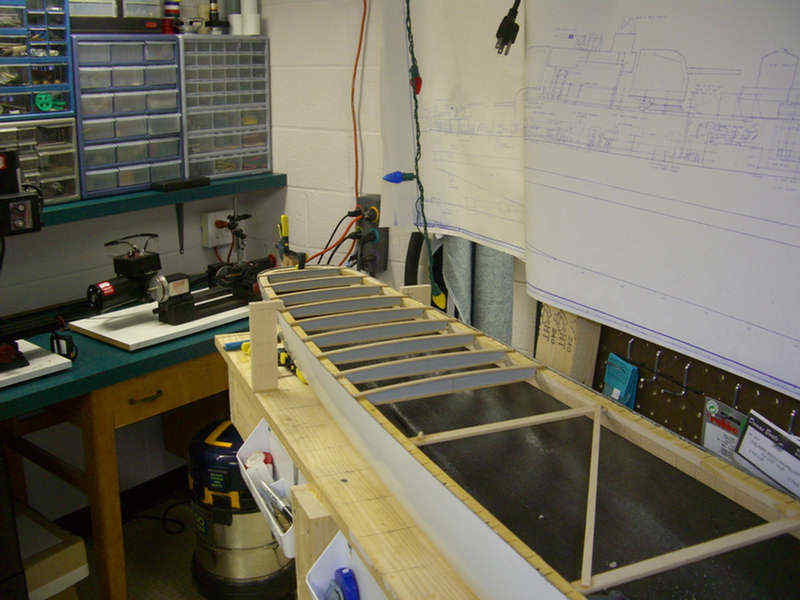
As the Lil' Wanker said, some good headway is being made. I measure progress on how much of a mess I have made in the shop. Looking around, I would have to agree. I am making some good progress this weekend!

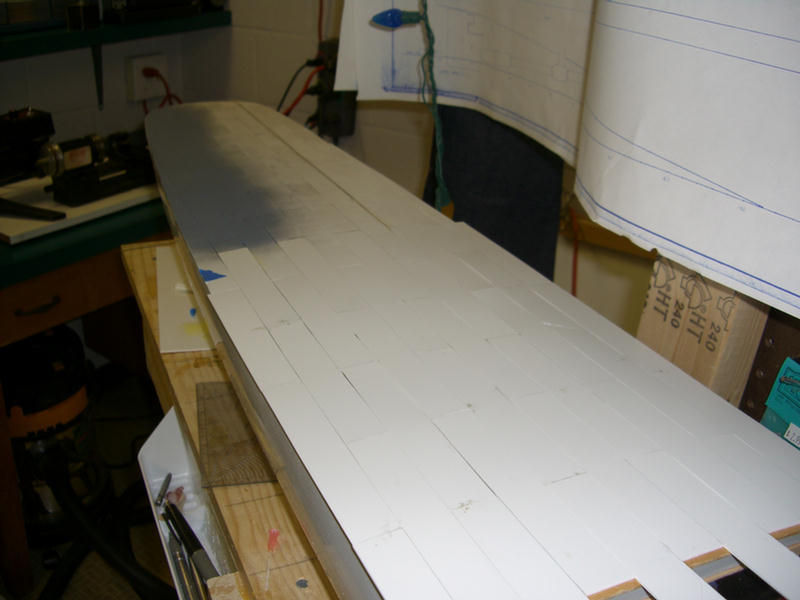
Some more progress on the main deck.
I just love this guy!
Wanker, one "full scale" foot is 48 feet in pip-squeak (read you) scale. I'll have you know that I have been on the road (INCLUDING WEEKENDS) for the last three weeks!
I will look so forward to keelhauling you when this ship is ready.
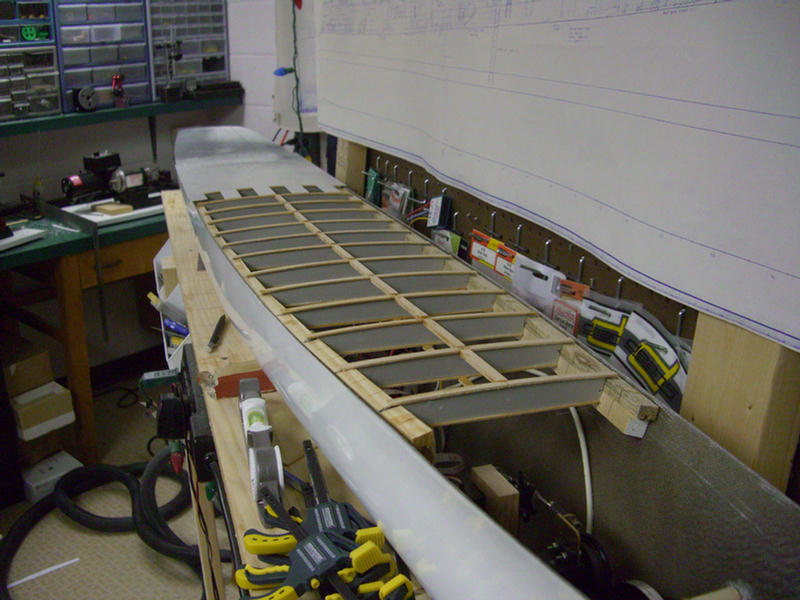
Okay, enough on the crane, for awhile, and back on The O'bannon. Made some pretty good progress today. Fabricated and installed twelve more deck beams and stringers.